
使用 Hexo 搭建个人博客
Hexo:渲染
Markdown文档为 HTML 静态博客GitHub:源码托管、工作流CI/CD、图床
Jsdelivr:一个免费的CDN,加速 GitHub 图床访问
Valine:一款快速、简洁且高效的无后端评论系统
Vercel:静态 Web 部署,可加速博客国内访问速度,速度比 GitHub Pages 快
PicGo:图床上传管理工具
原个人博客搭建方式为 solo 一个 SpringBoot + MySQL + Docker 的博客系统,由于国内个人博客备案越发艰难。由原来的**云-广州迁移到了**云-香港。当时购买服务器为学习使用,但是后来工作实在是太多了,个人时间太少,根本没什么时间去折腾。所以在服务到期前准备迁移博客到 Hexo 部署,然后白嫖各种平台吧。
原博客搭建方式:Typora + VPS + Docker + solo + PicGo + 七牛云图床
现博客搭建方式:VSCode + GitHub + Hexo + Jsdelivr + Valine + vercel + PicGo
前期准备
注册各平台账号与安装软件教程参考官网文档
GitHub 账号一个
Valine 账号,如果不想实名认证请注册国际版,国际版需要手机号认证。可以尝试使用 免费短信接收平台,我是使用的 google voice
安装 PicGo
安装 NodeJS,Mac 的话推荐安装 nvm 管理多版本 Node,Windwos 可以使用 nvm-windows
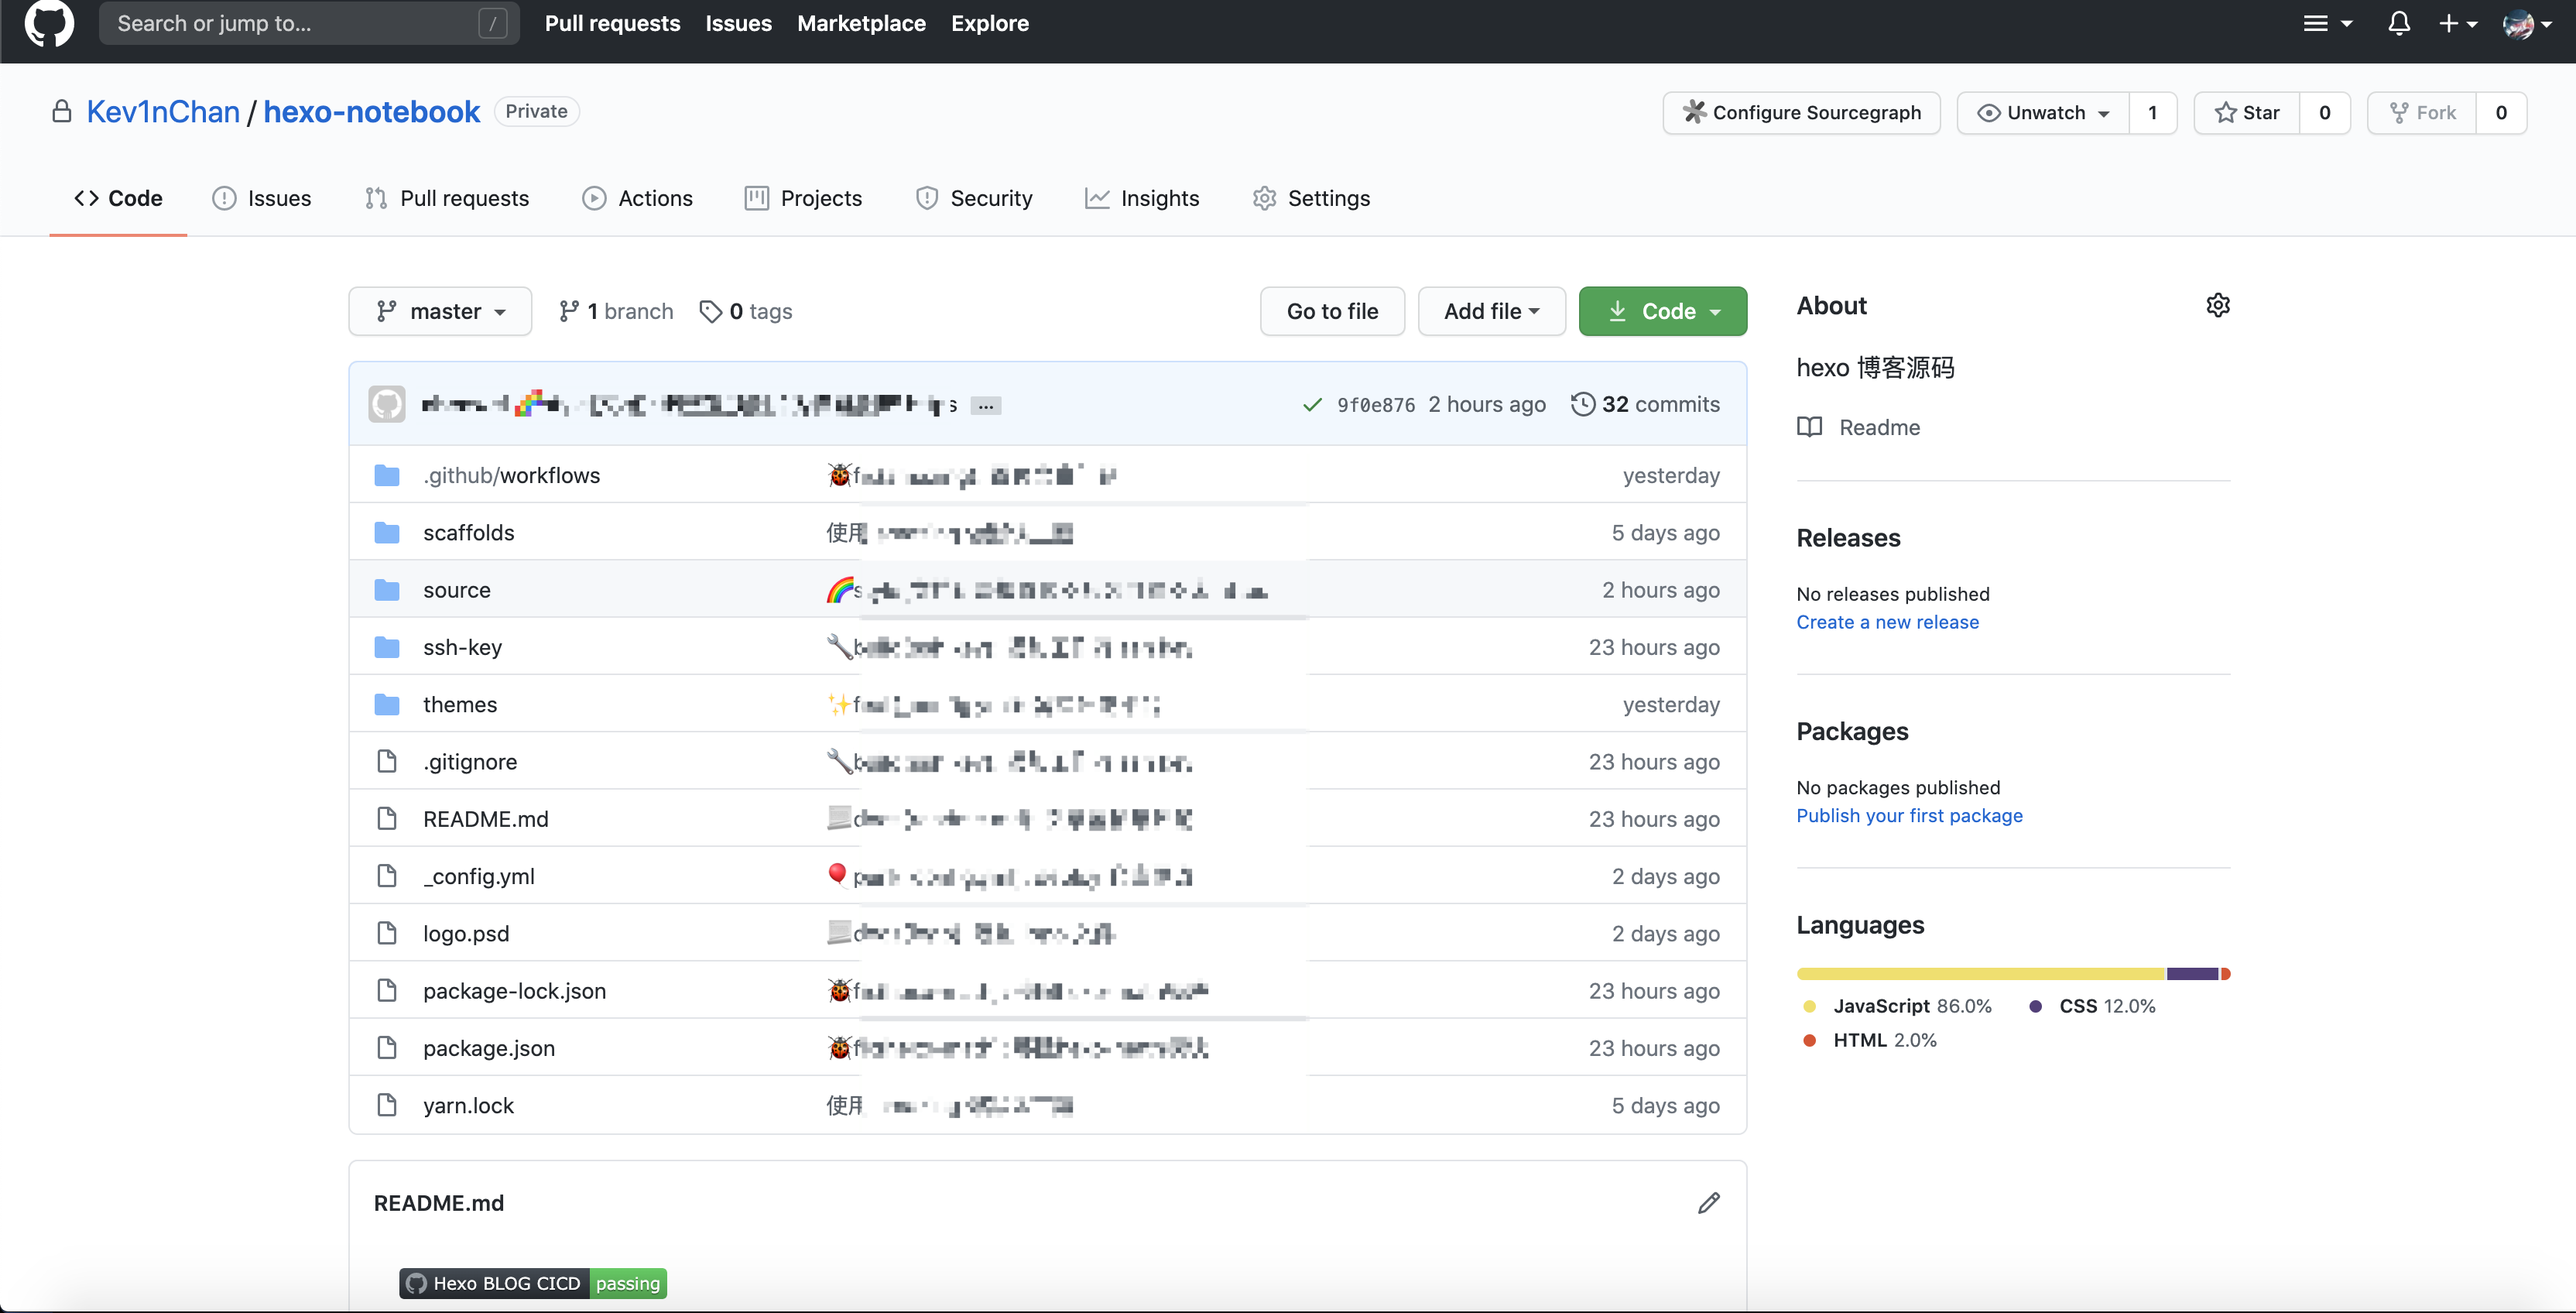
创建博客仓库
在 GitHub 中需要创建三个仓库
仓库命名自定义,示例如下:
| 仓库名 | 状态 | 备注 |
|---|---|---|
| hexo-notebook | Private | 博客源码 |
| hexo-static | Public/Private | 博客静态页面 |
| blog-imgs | Public | 图床 |
Jsdelivr 加速图床
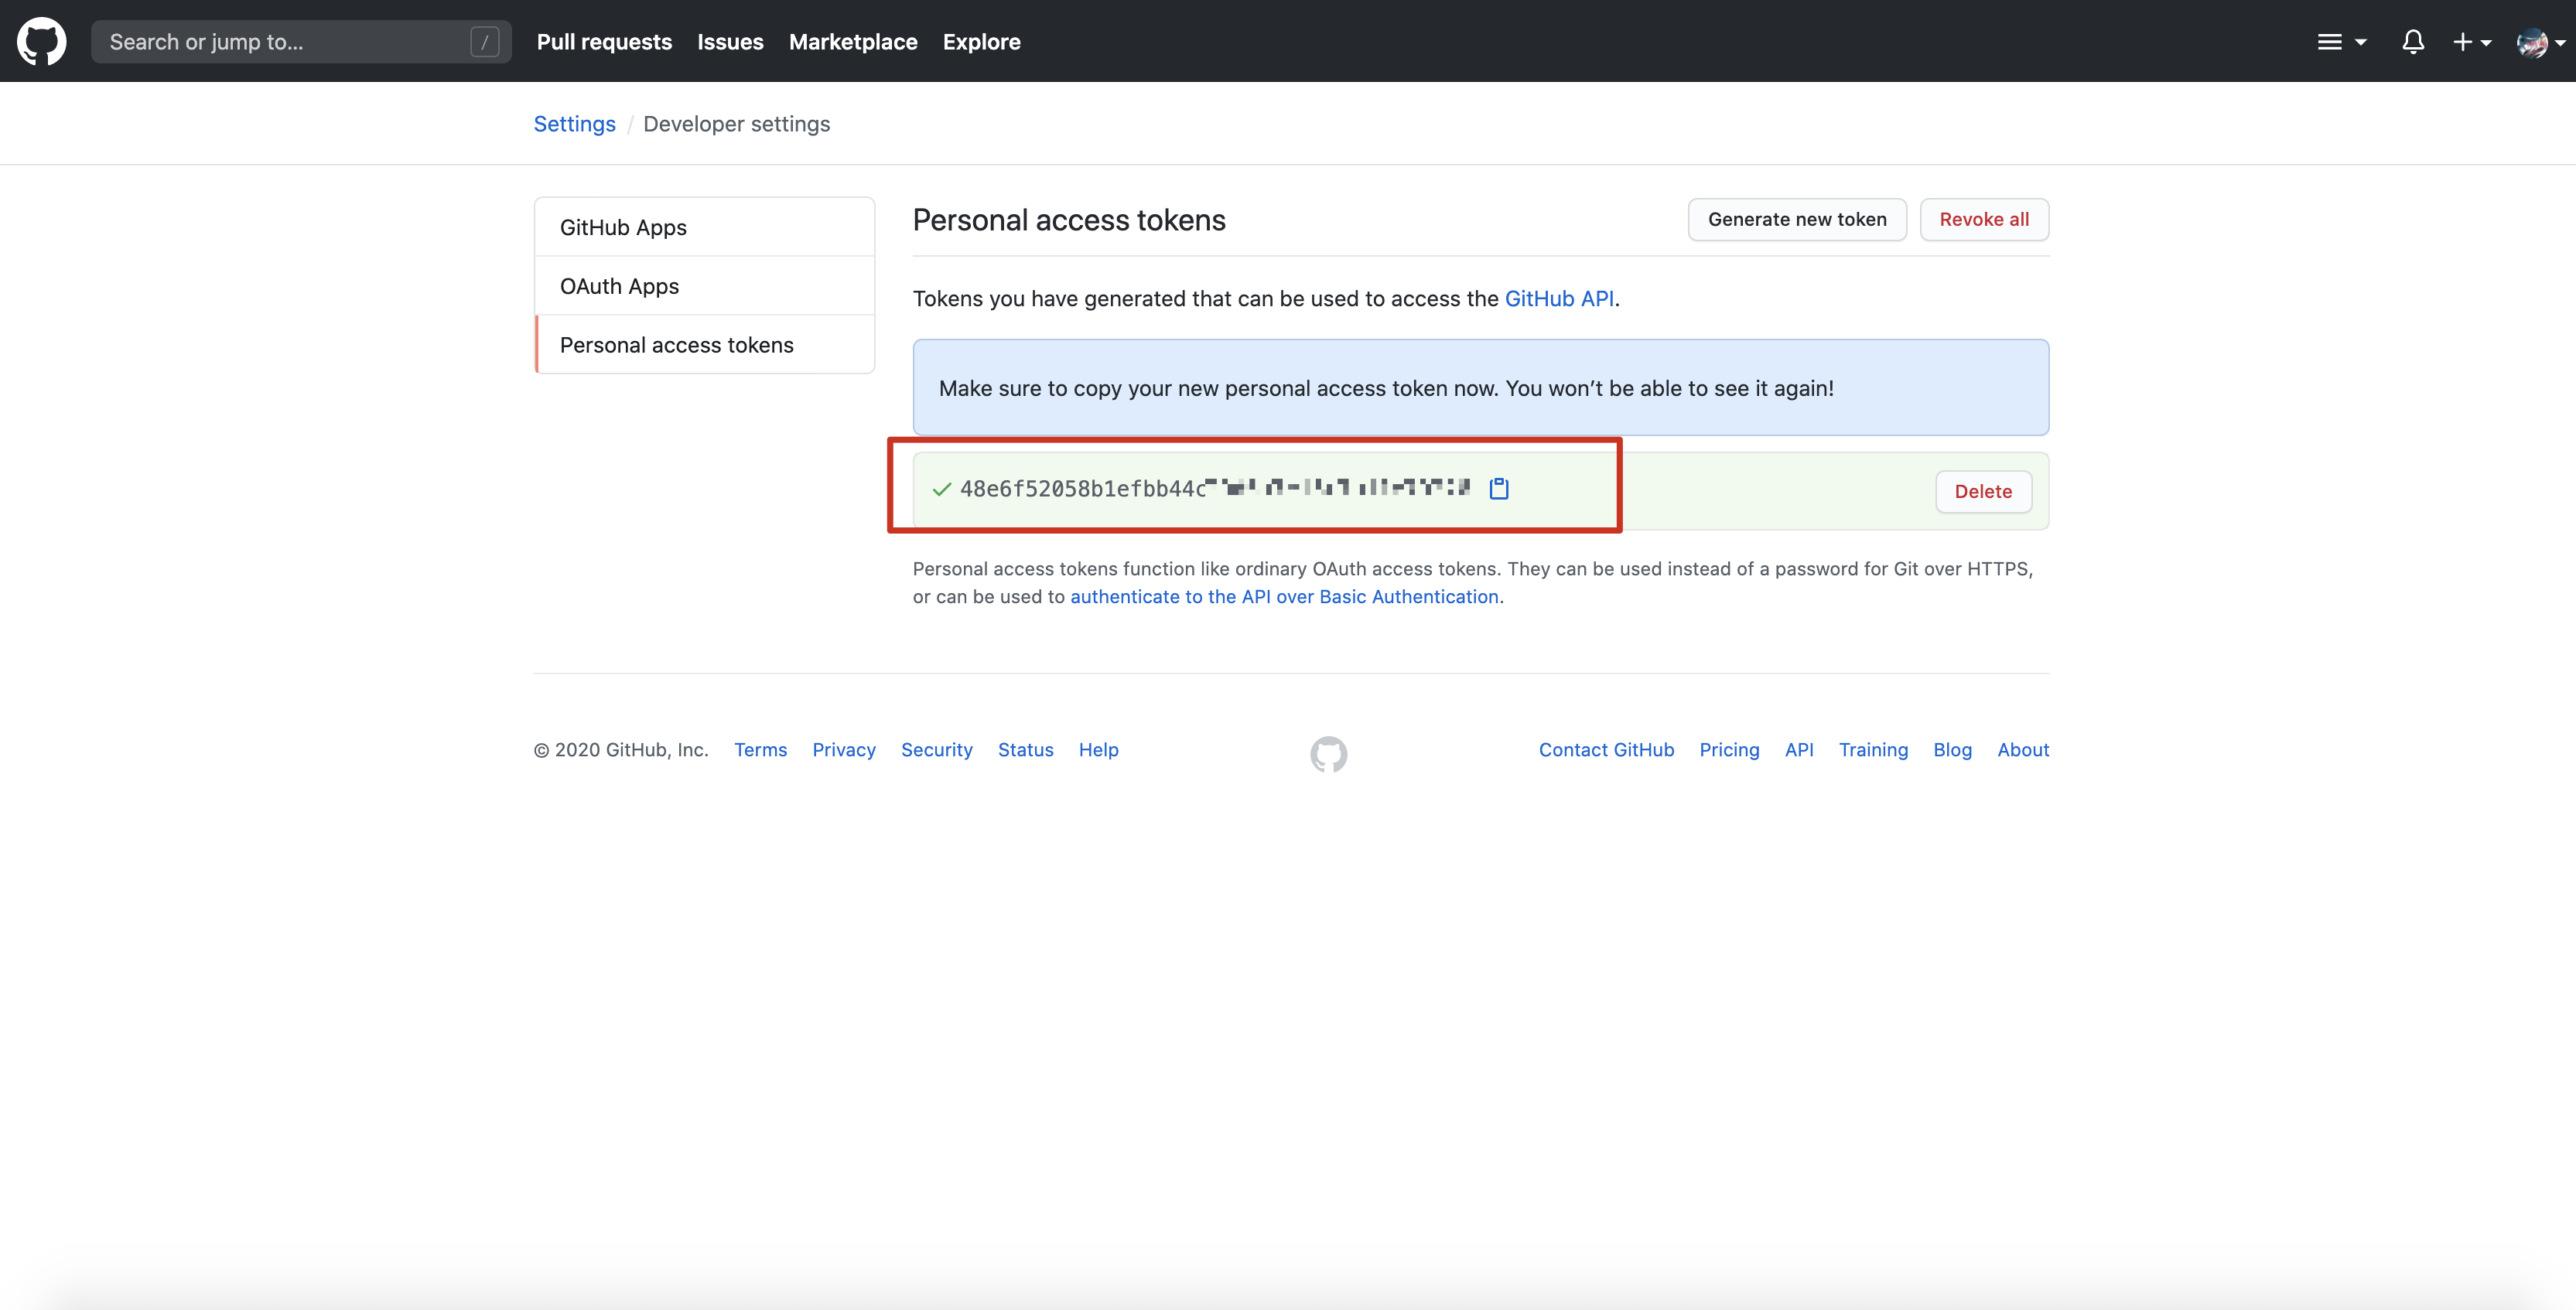
创建完成 blog-imgs 仓库后,在当前 GitHub 账号上生成一个 Token
在个人账号的
Settings中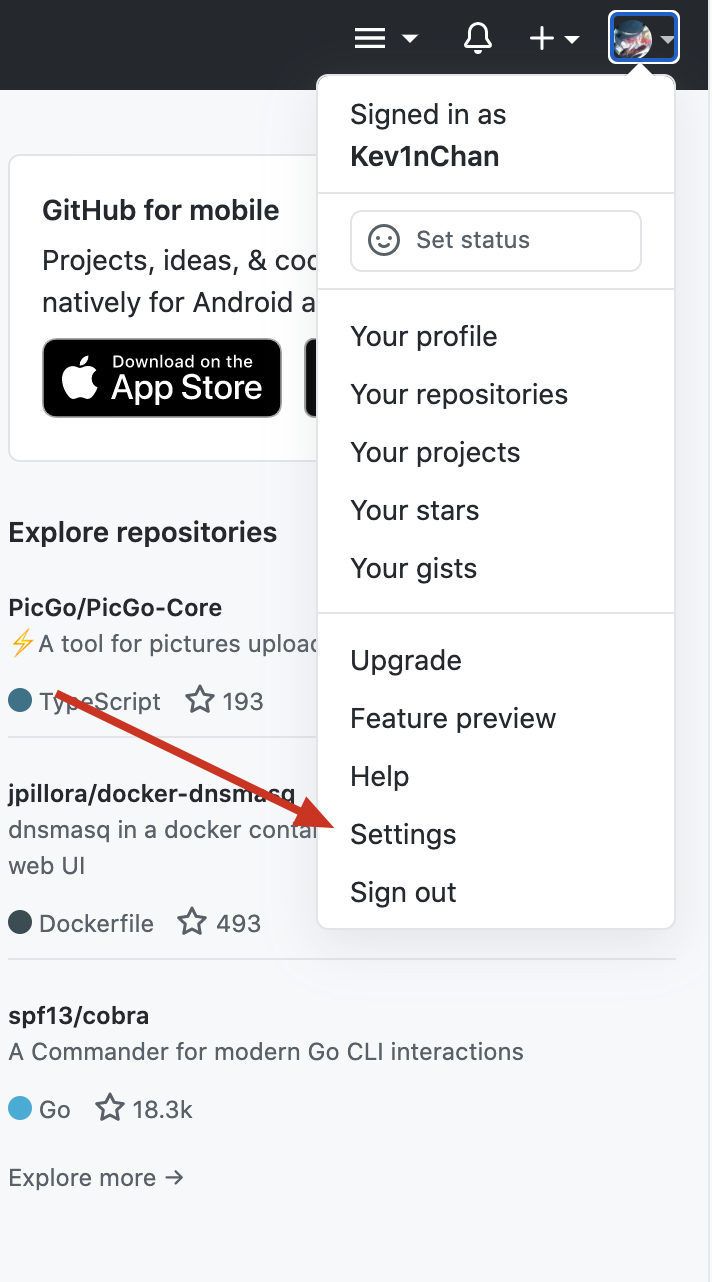
选择
Developer settings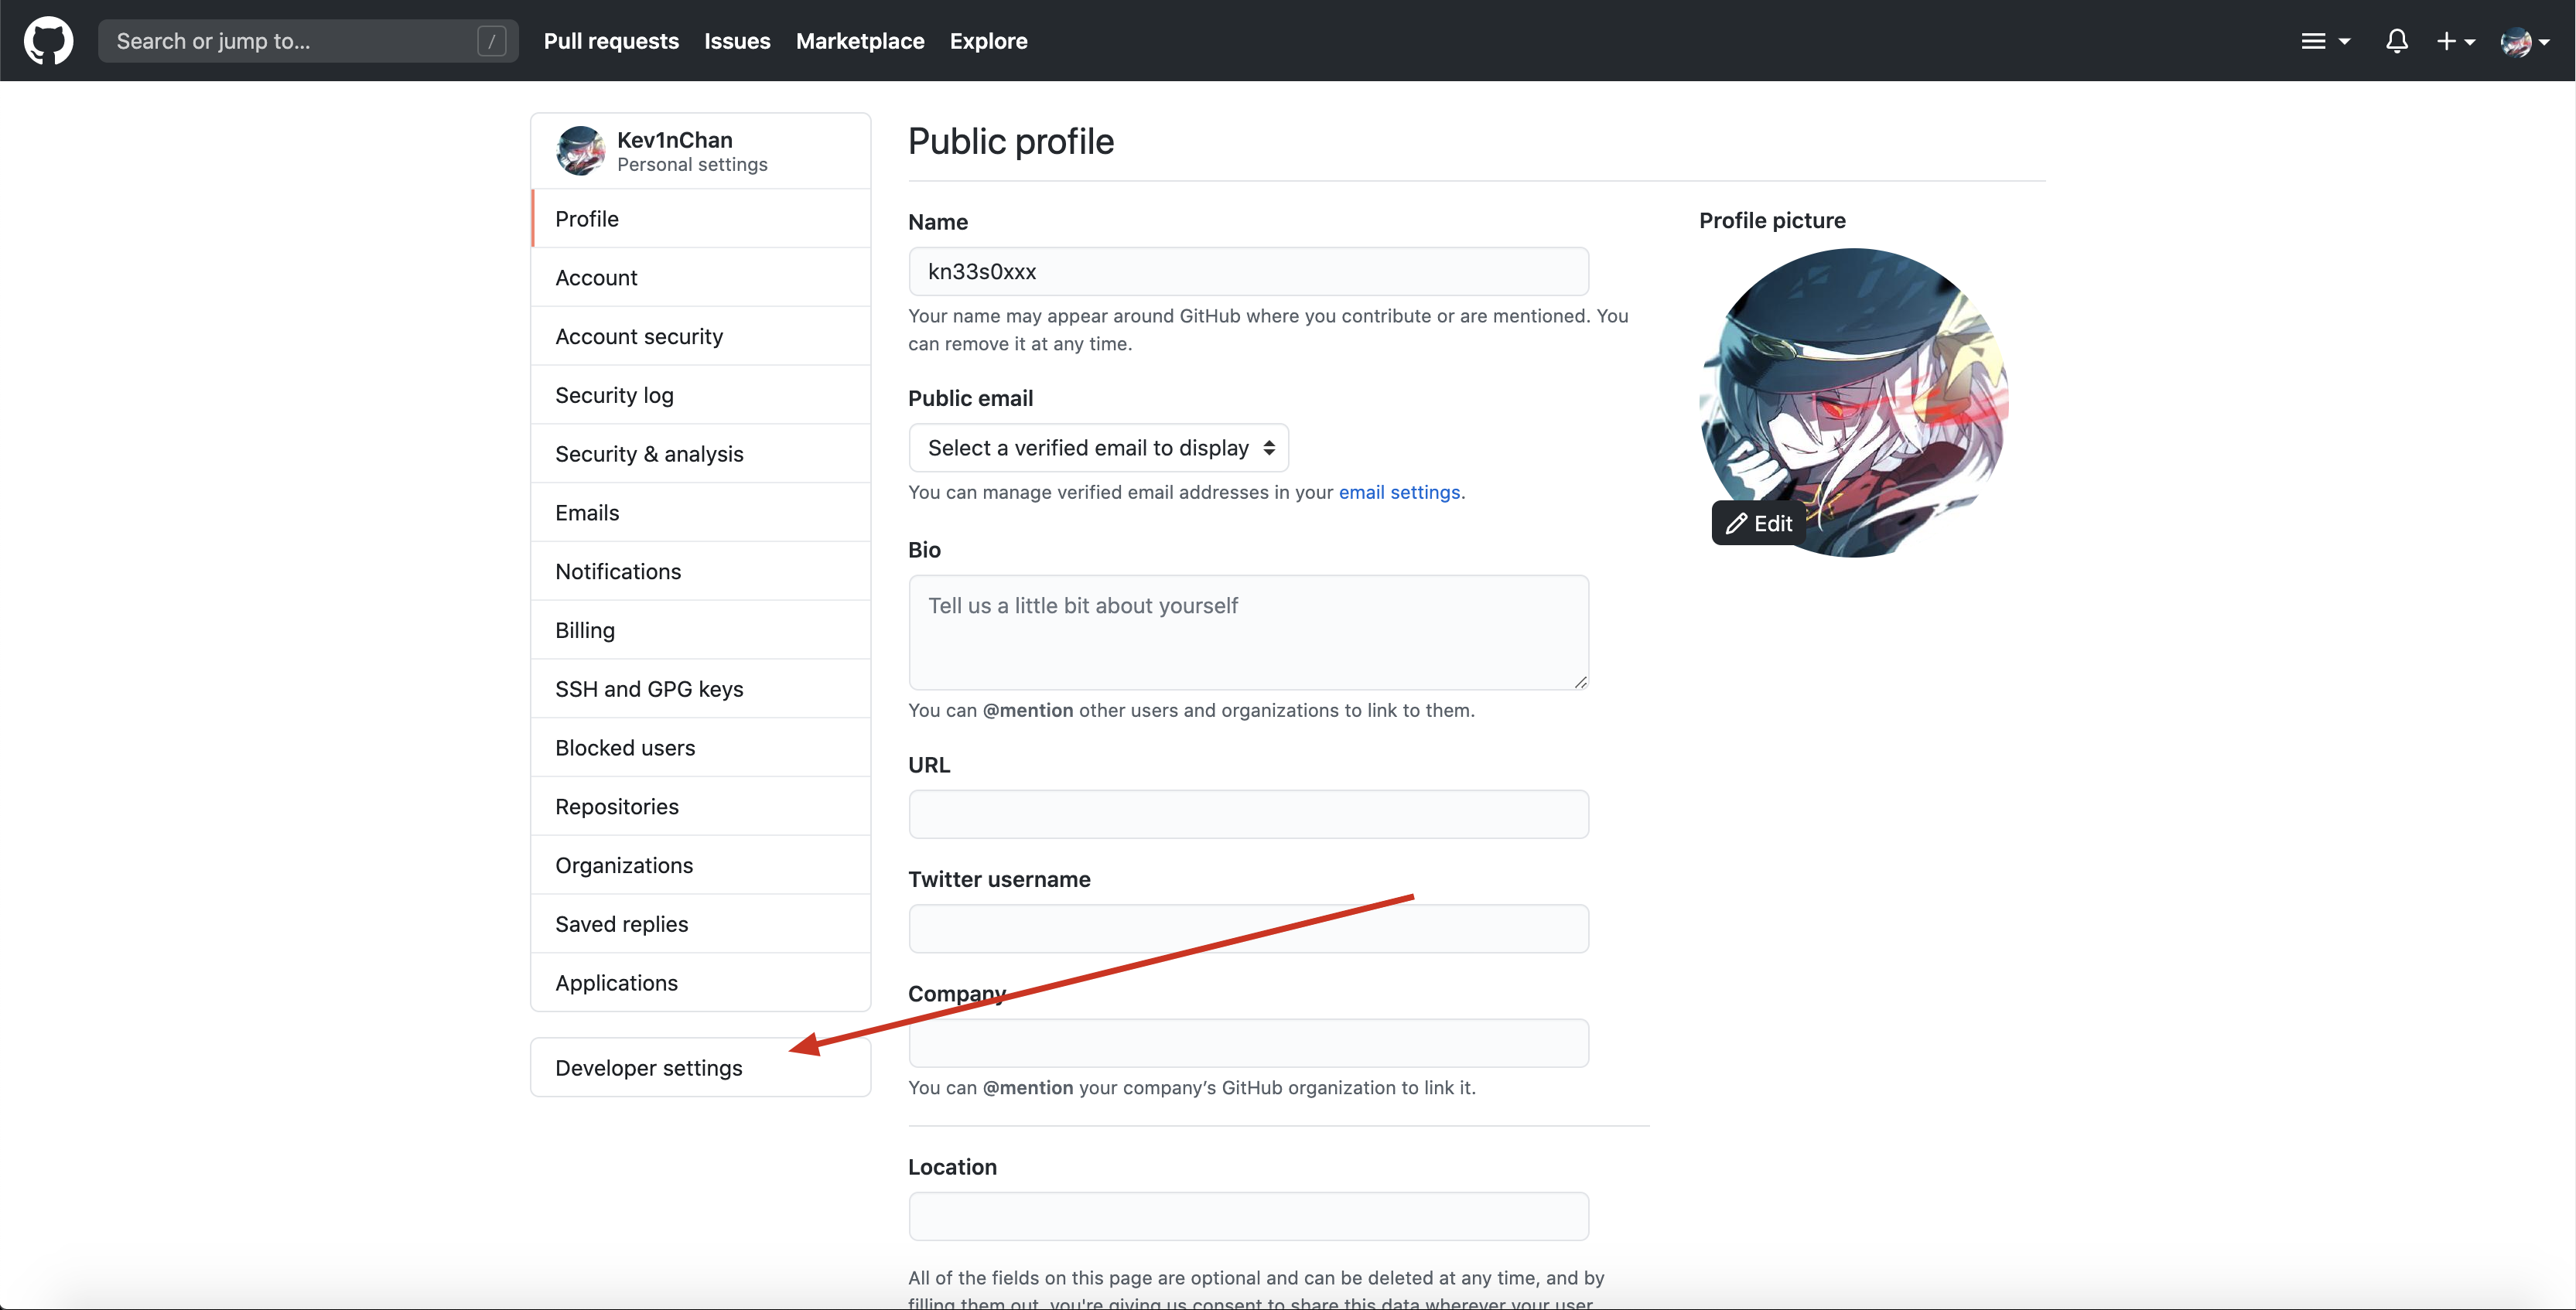
选择
Personal access tokens后点击最下方的Generate new token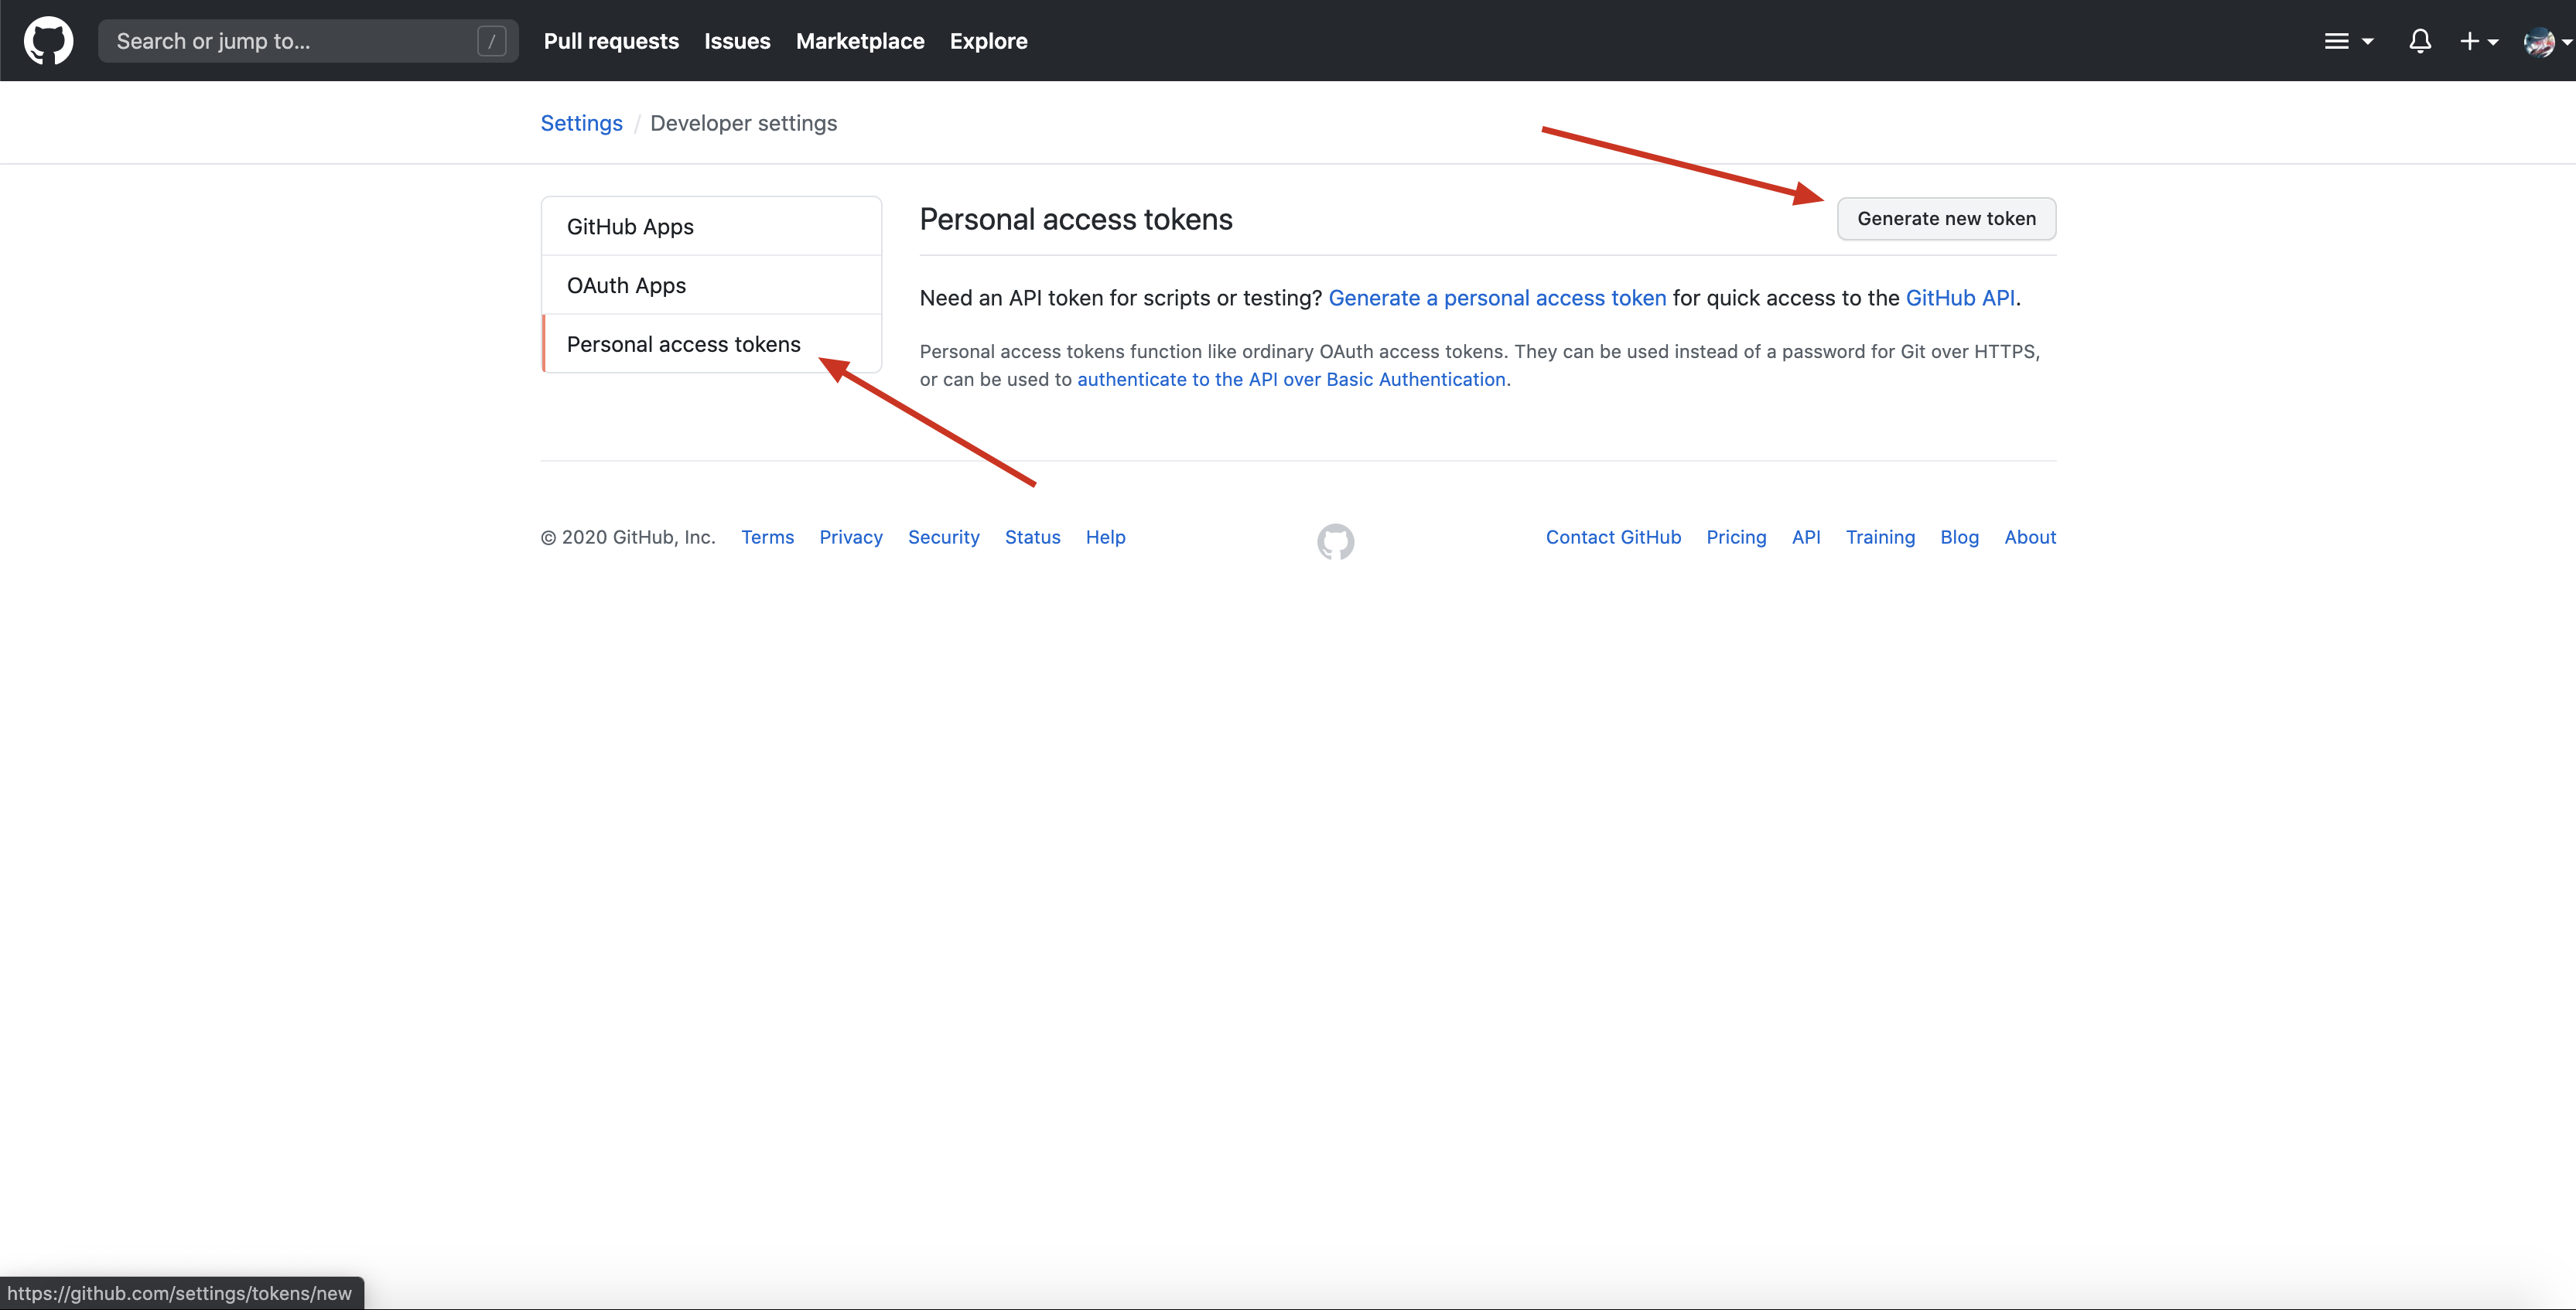
填写 token name 后勾选
repo。然后点击Generate token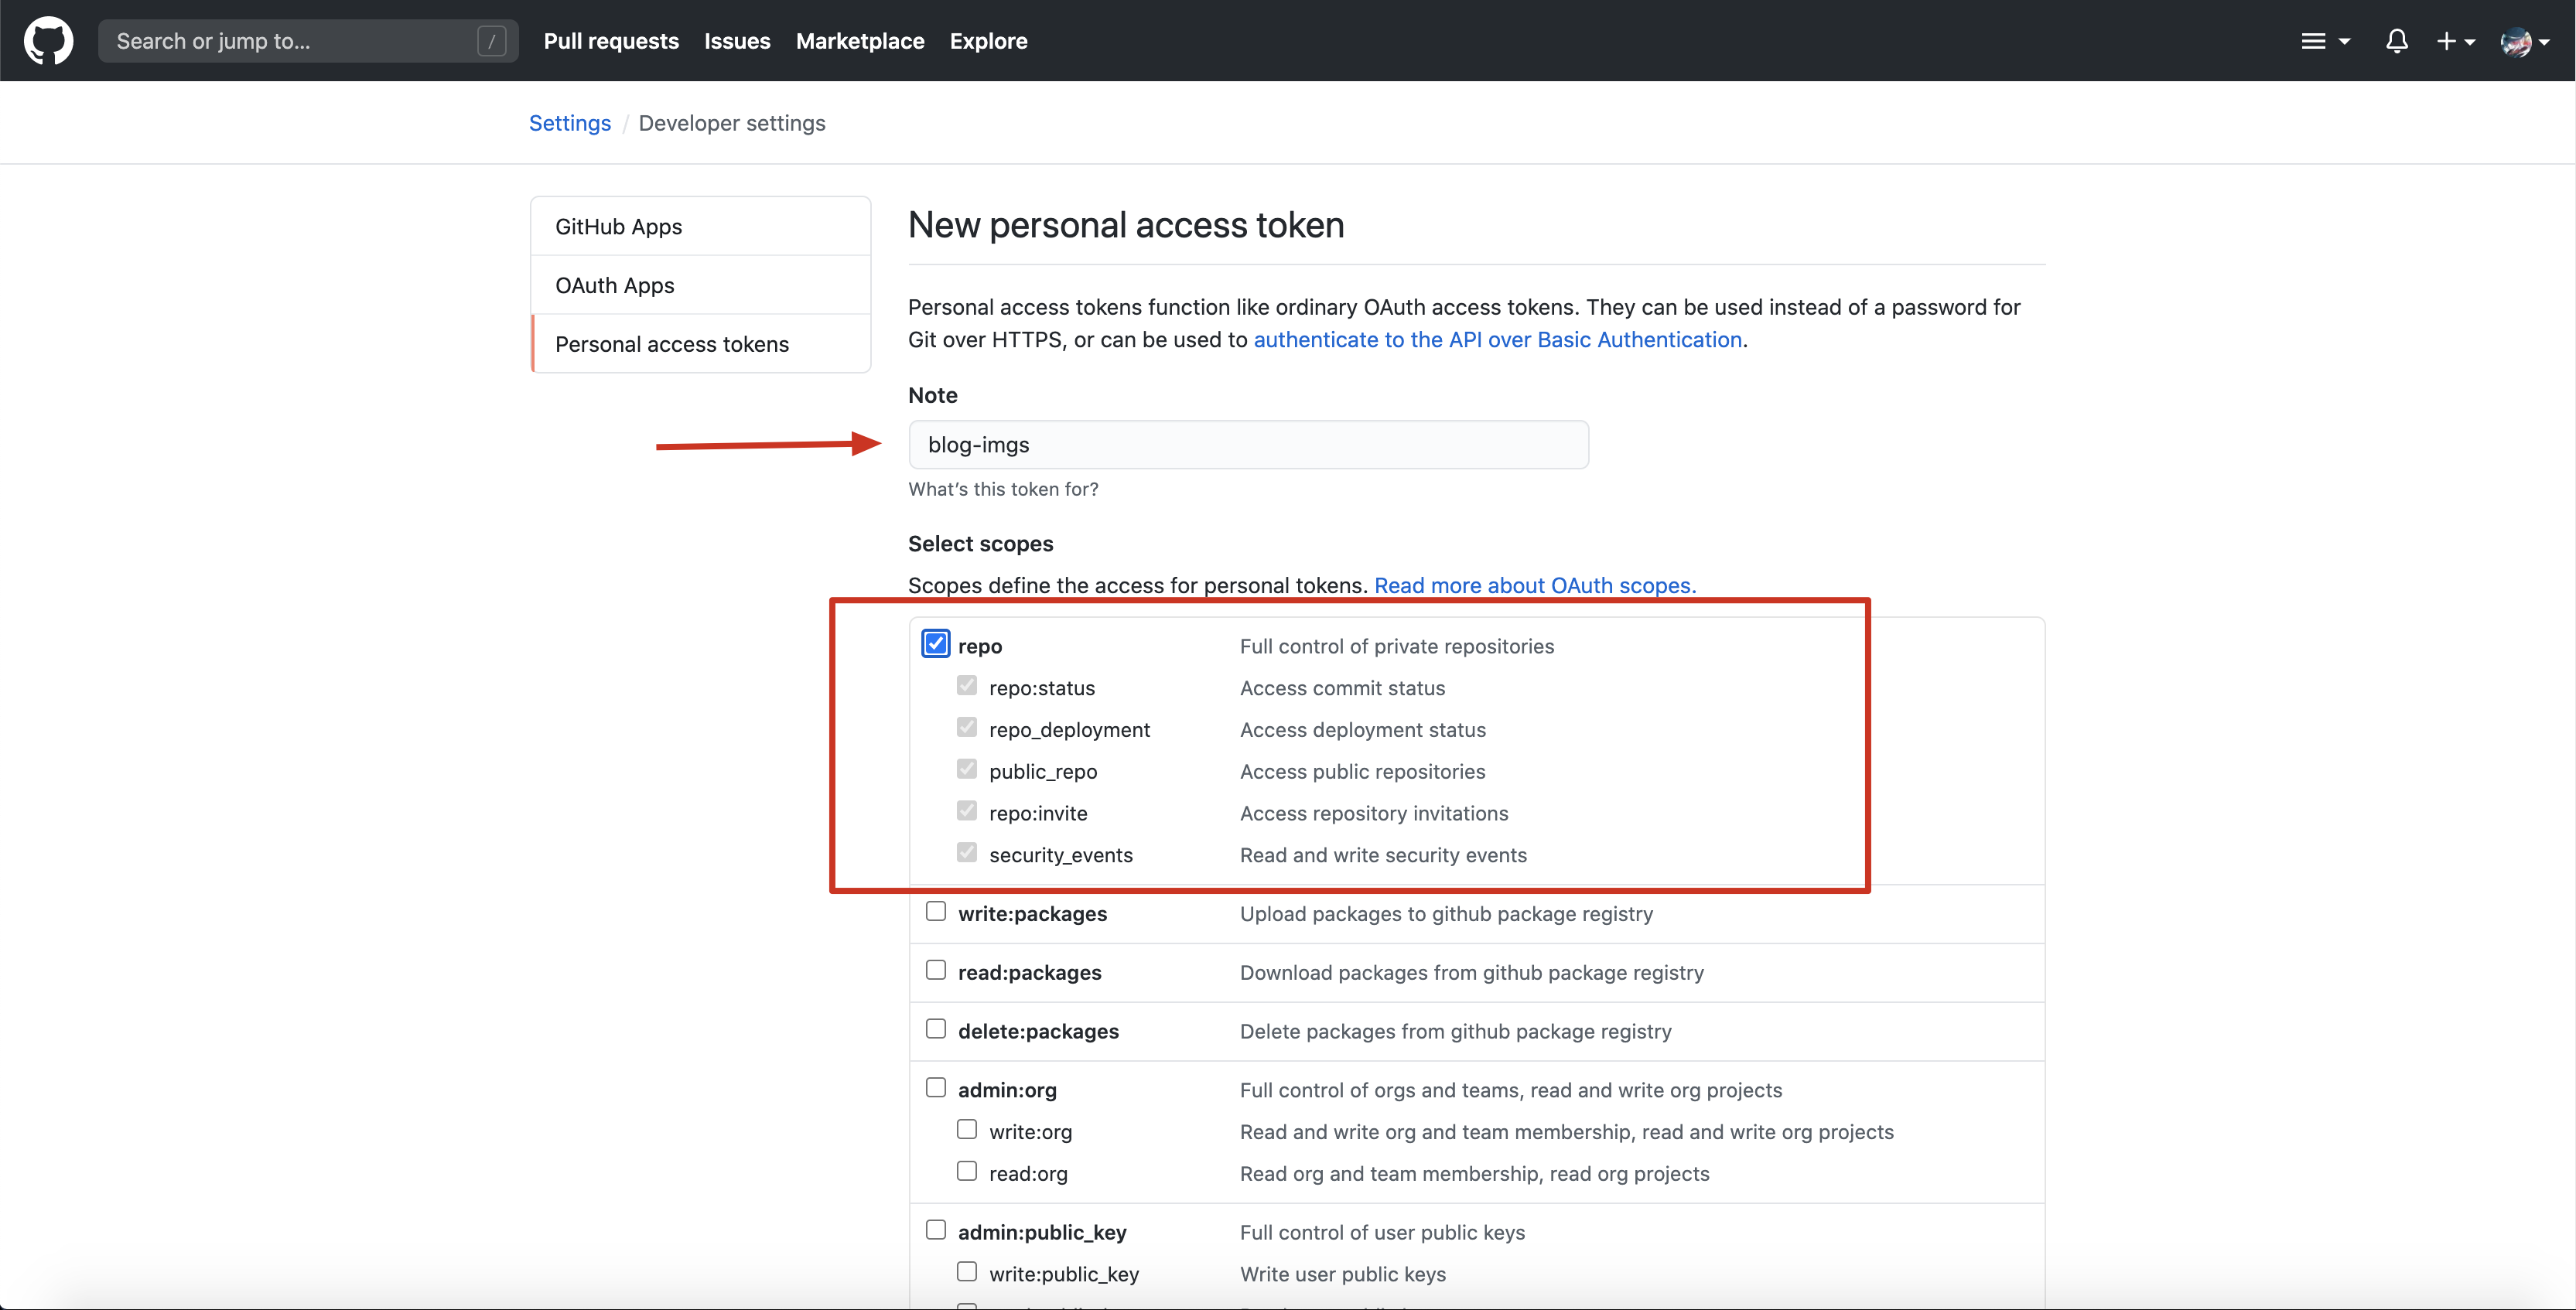
复制 token
设置 PicGo,其中
https://cdn.jsdelivr.net/gh/为使用jsdelivr加速github仓库的 URL 前缀,后面跟上需要待加速的 github 用户名与仓库地址,PicGo 会在上传图片后自动拼接处图片的 URL返回给我们,我们使用这个 URL 去访问即可加速 GitHub 仓库中的文件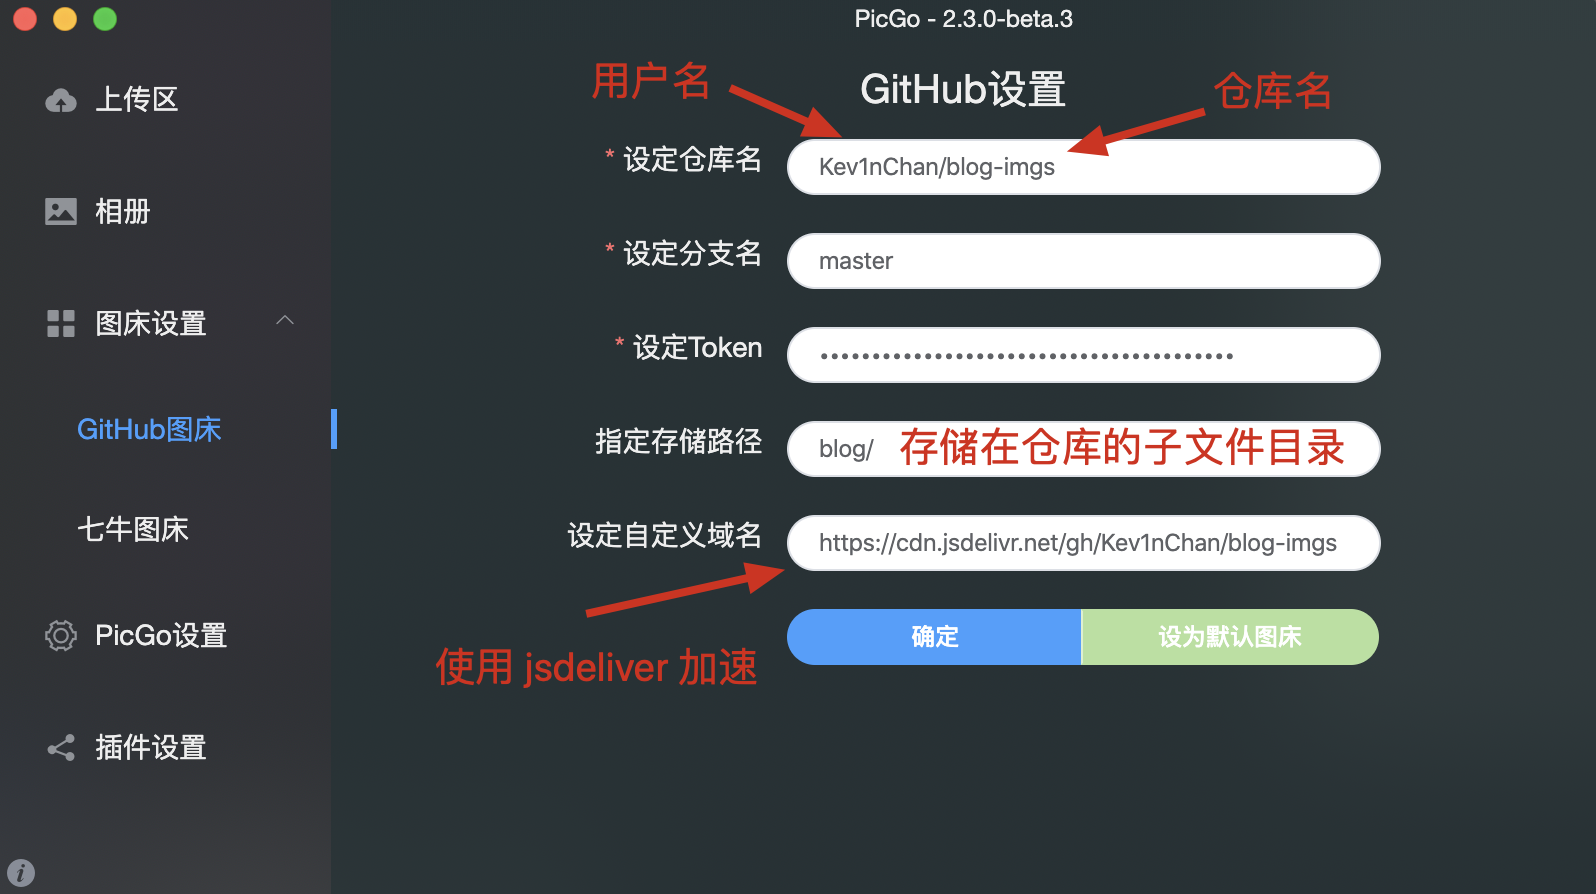
搭建博客
创建 Hexo 工程
使用 NPM 安装 Hexo 命令行工具
全局安装
shell 1
npm install -g hexo-cli
局部安装
shell 1
npm install hexo
如果带
--save参数,则表示写入到当前package.json中
新建 hexo-notebook 文件夹
Mac 或 Linux 上直接 mkdir 一个文件目录
shell 1
mkdir hexo-notebook
Windows 上右键新建文件夹即可
初始化 hexo
shell 1
2
3
4
5
6
7hexo init hexo-notebook
INFO Cloning hexo-starter https://github.com/hexojs/hexo-starter.git
INFO Install dependencies
warning hexo-renderer-stylus > stylus > css-parse > css > urix@0.1.0: Please see https://github.com/lydell/urix#deprecated
warning hexo-renderer-stylus > stylus > css-parse > css > source-map-resolve > urix@0.1.0: Please see https://github.com/lydell/urix#deprecated
warning hexo-renderer-stylus > stylus > css-parse > css > source-map-resolve > resolve-url@0.2.1: https://github.com/lydell/resolve-url#deprecated
INFO Start blogging with Hexo!进入
hexo-notebook并安装依赖包shell 1
2cd hexo-notebook
npm install编译生成静态页面
shell 1
hexo g
如果
hexo仅安装在当前路径下,则使用命令npx hexo g生成然后我们通过 Nginx 之类的服务器部署
hexo-notebook/public/后查看页面nginx 配置示例:
/etc/nginx/conf.d/hexo.conf >folded 1
2
3
4
5
6
7
8
9
10
11
12
13
14
15
16
17
18
19
20server {
listen 80;
server_name hexo.akiya.cn;
return 308 https://$host$request_uri;
}
server {
listen 443 ssl;
server_name hexo.akiya.cn;
include snippets/ssl-*.akiya.cn.conf;
gzip on;
gzip_proxied any;
gzip_types *;
location / {
root /data/hexo-notebook/public/;
index index.html;
}
}也可以使用如下命令,直接使用 Hexo 自带的 Server 启动查看
shell 1
hexo s
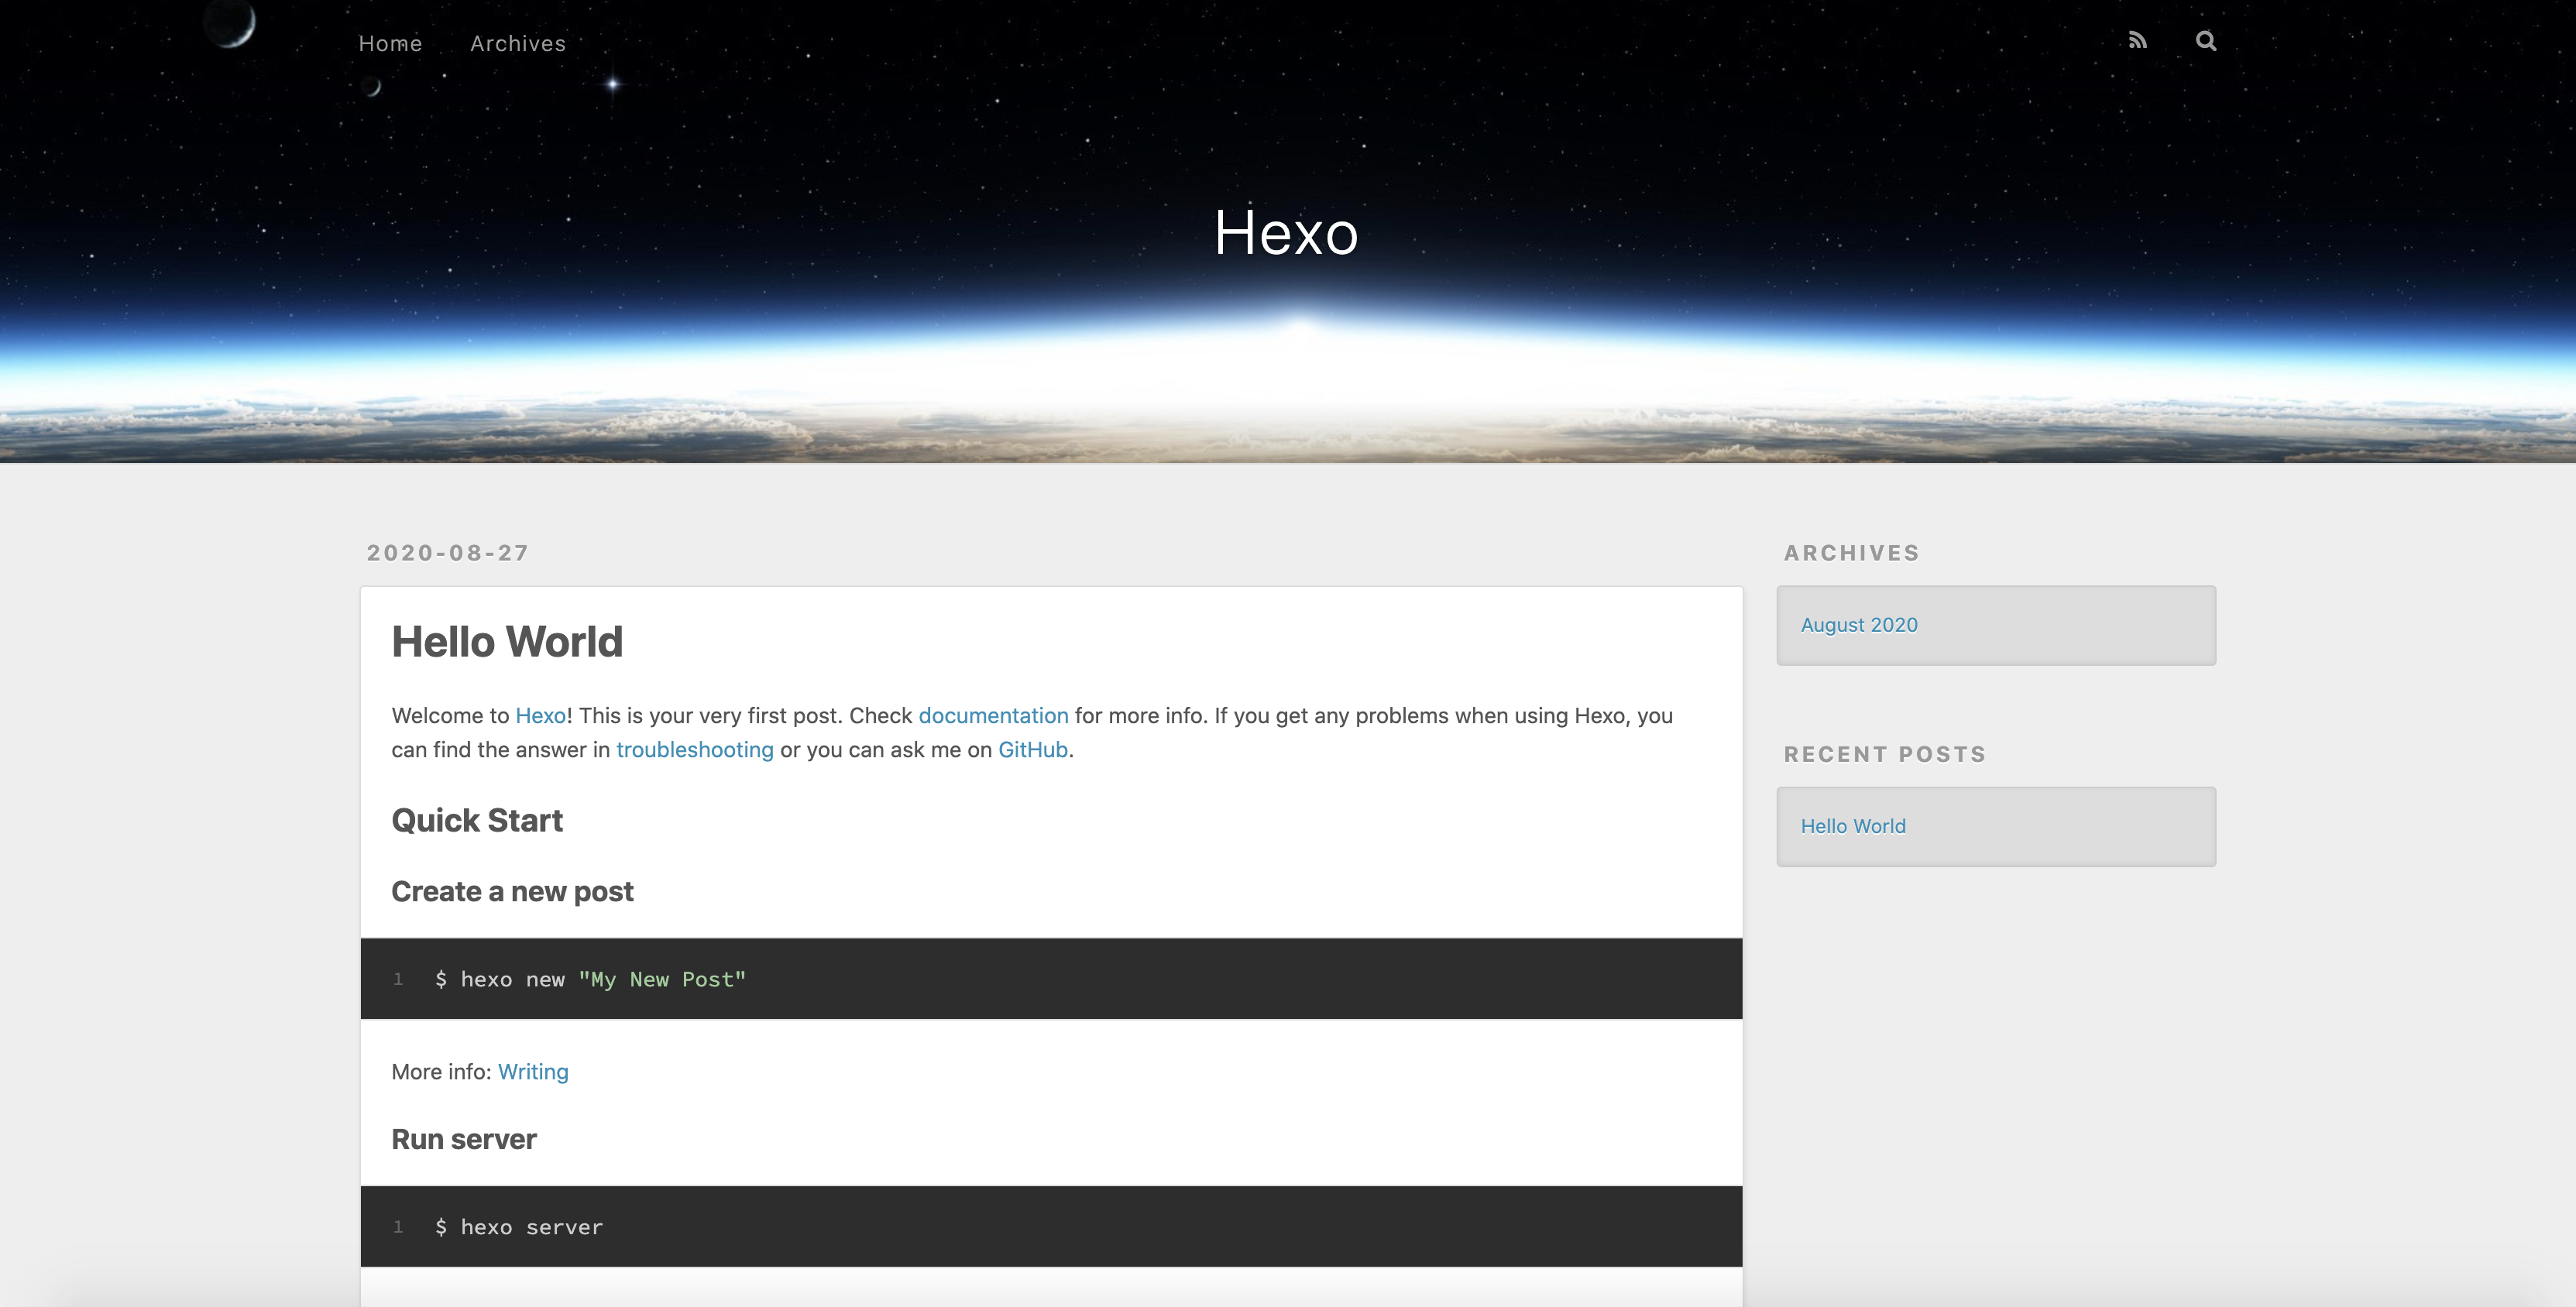
可以看到默认主题页面如下
添加主题
默认的 Hexo 主题并不是让我很满意,所幸 Hexo 拥有很多第三方主题,我们可以在其中选择我们喜欢的来美化我们的博客。
克隆主题到
hexo-notebook工程的themes/路径下shell 1
git clone https://github.com/removeif/hexo-theme-amazing.git themes/amazing
查看主题目录
1
2
3
4
5
6
7
8
9
10
11
12
13
14
15
16
17
18
19
20
21
22
23
24
25tree -L 2 themes
themes
├── amazing
│ ├── _config.yml
│ ├── ex_pages
│ ├── include
│ ├── languages
│ ├── layout
│ ├── LICENSE
│ ├── package.json
│ ├── README.md
│ ├── scripts
│ └── source
└── landscape
├── _config.yml
├── Gruntfile.js
├── languages
├── layout
├── LICENSE
├── package.json
├── README.md
├── scripts
└── source
12 directories, 9 files导入主题后需要安装新的依赖包,具体需要哪些包请按报错提示安装,以下仅供参考
shell 1
2
3npm install --save ajv@^6.10.2 bulma-stylus@0.8.0 hexo@^4.2.0 hexo-log@^1.0.0 \
hexo-renderer-inferno@^0.1.1 hexo-renderer-stylus@^1.1.0 hexo-util@^1.8.0 \
inferno@^7.3.3 inferno-create-element@^7.3.3修改
hexo-notebook/_config.yml中theme:值为amazing清理并重新生成静态网页
shell 1
2hexo clean
hexo g再次刷新浏览器,可以看到页面如下,主题以及发行变化。但是除了 Hello World 外其他的都是主题默认的,我们需要修改配置文件中信息为我们自己的博客内容
修改配置文件
配置文件则按照官方文档或选择使用的三方主题的文档修改,由于使用的主题可能不一样,这儿不做过多说明
如何修改 amazing 主题配置文件请参考作者 GitHub
文章置顶
注意: 默认的 node_modules 中使用 amazing 主题会有文章置顶问题。如果使用该主题需要替换 generator.js,使用如下内容替换 node_modules/hexo-generator-index/lib/generator.js 中内容
1 | ; |
评论系统
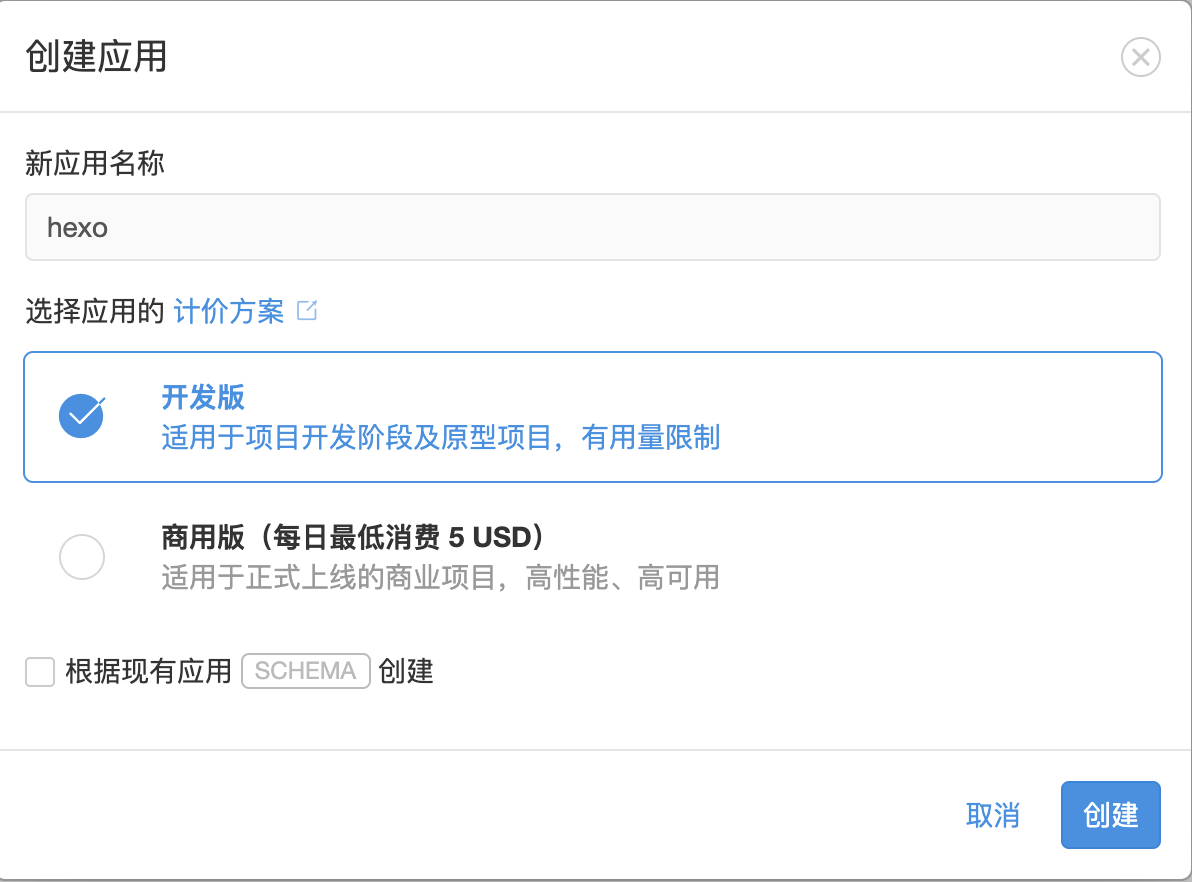
登陆 leancloud,创建一个新应用
进入
应用=>设置=>应用 Keys中获取 AppID 与 AppKey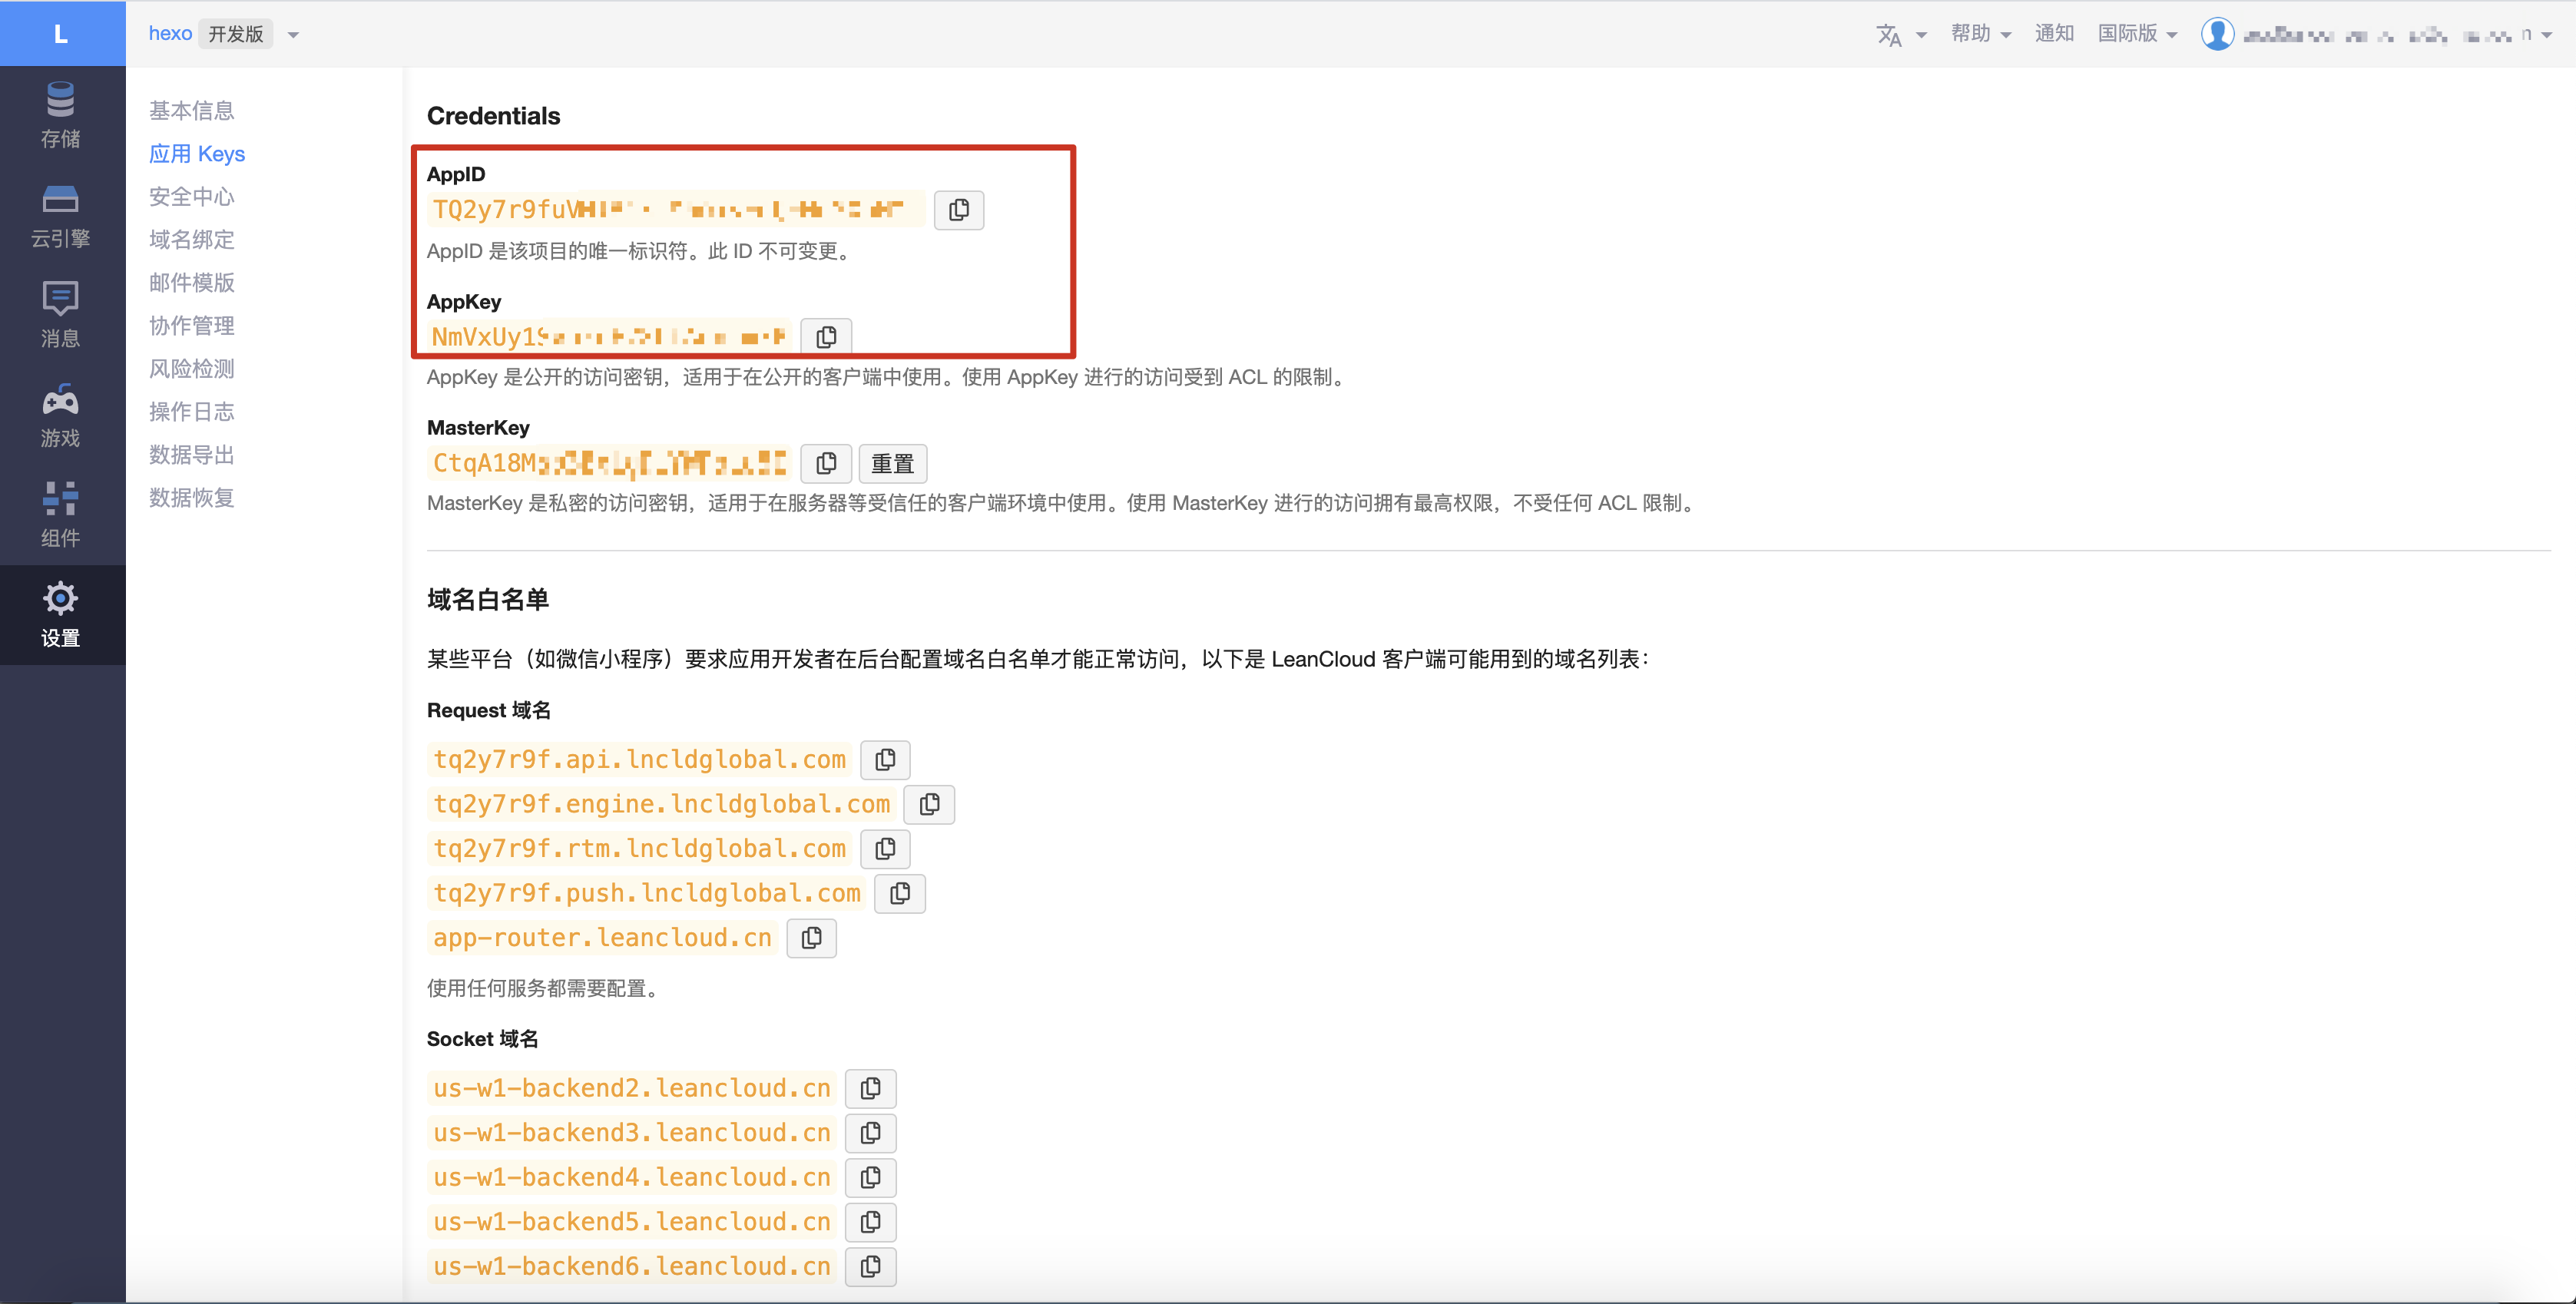
在 amazing 主题配置文件中修改相关配置,注释掉
gitalk相关配置并放开valine最开始使用 gitalk 发现每篇文章都需要手动去初始化评论后才能使用,所以替换为 valine
themes/amazing/_config.yml >folded 1
2
3
4
5
6
7
8
9
10
11
12
13
14
15
16
17
18
19
20
21
22
23
24
25# comment:
# type: gitalk
# language: zh-CN #zh-CN #Localization language key, en, zh-CN and zh-TW are currently available.
# owner: kev1nchan # (required) GitHub user name
# repo: hexo-static # (required) GitHub repository name
# client_id: 82bd3b7************* # (required) OAuth application client id
# client_secret: client_secret: 8d64a03740e9**************************** # (required) OAuth application client secret
# admin: ['kev1nchan']
# create_issue_manually: true
# distraction_free_mode: false
# has_hot_recommend: true # 是否有热门推荐
# has_latest_comment: true #是否有最新评论
comment:
type: valine
app_id: TQ2y7r9fu************************
app_key: NmVxUy1*****************
notify: false
verify: false
avatar: 'mp'
placeholder: '留下您的高见!'
has_latest_comment: true #是否有最新评论 true-有,false-无
owner: akiya #博主名 最新评论标注[博主]
required_fields: ['nick', 'mail', 'link']
lang: en #zh-CN zh-TW en ja
添加文章
草稿
如果直接创建一篇新文章的话,会在生成静态文件时默认渲染,但有时我们并不会马上编辑好或者并不急着发布,这时就可以先建立草稿
1 | hexo new draft "<文章名>" |
创建后新的 <文章名>.md 文档会在 hexo-notebook/source/_drafts/ 下,Hexo 不会默认不会渲染该文件夹下的东西
如果需要预览文章,可以使用 Hexo 内置的 hexo-server 启动时带上 --drafts
1 | hexo s --drafts |
启动后访问 http://localhost:4000 即可本地预览
如果需要发布该文章,则建议使用 git mv 命令,而不是官方提供的 hexo publish。官方提到 publish 类似于 new,所以可能会破坏我们的 git log
1 | git mv source/_drafts/<文章名>.md source/_posts/ |
新文章
添加新文章直接 hexo new 完事
1 | hexo new <文章名> |
新建的文档会存放在 source/_posts/ 目录下,此目录下所有文档会在生成静态文件时被调用。
部署
推送代码前请保证当前开发环境中可以 pull、push 访问远程仓库
推送静态页面
在 hexo-notebook\_config.yml 配置文件中找到如下配置
1 | deploy: |
修改
repo为你自己的 hexo-static 仓库地址测试部署,使用如下命令生成并推送到远程服务器
shell 1
2hexo clean
hexo g -d在 GitHub 页面上查看改仓库是否有新推送

推送源码
添加完文档后,我们按照 github 上新建的 hexo-notebook 库的提示信息提交我们的代码到远程仓库
使用 actions
为了提升部署体验,我们使用 github actions 自动构建博客静态页面资源并部署
workflow
在 hexo-notebook 下新建 .github/workflows/deploy.yml 文件,内容如下:
1 | # This workflow will do a clean install of node dependencies, build the source code and run tests across different versions of node |
注意替换其中 git config --global user.email 与 git config --global user.name 的值
配置 deploy key
在 hexo-notebook 中通过命令行生成 deploy-key
1 | ssh-keygen -t rsa -b 4096 -C "kev1nchan@little-star.love" -f github-deploy-key -N "" |
复制
github-deploy-key.pub内容到hexo-static仓库的Deploy Keys中,记得一定要勾选Allow write access,不然没有写权限无法推送成功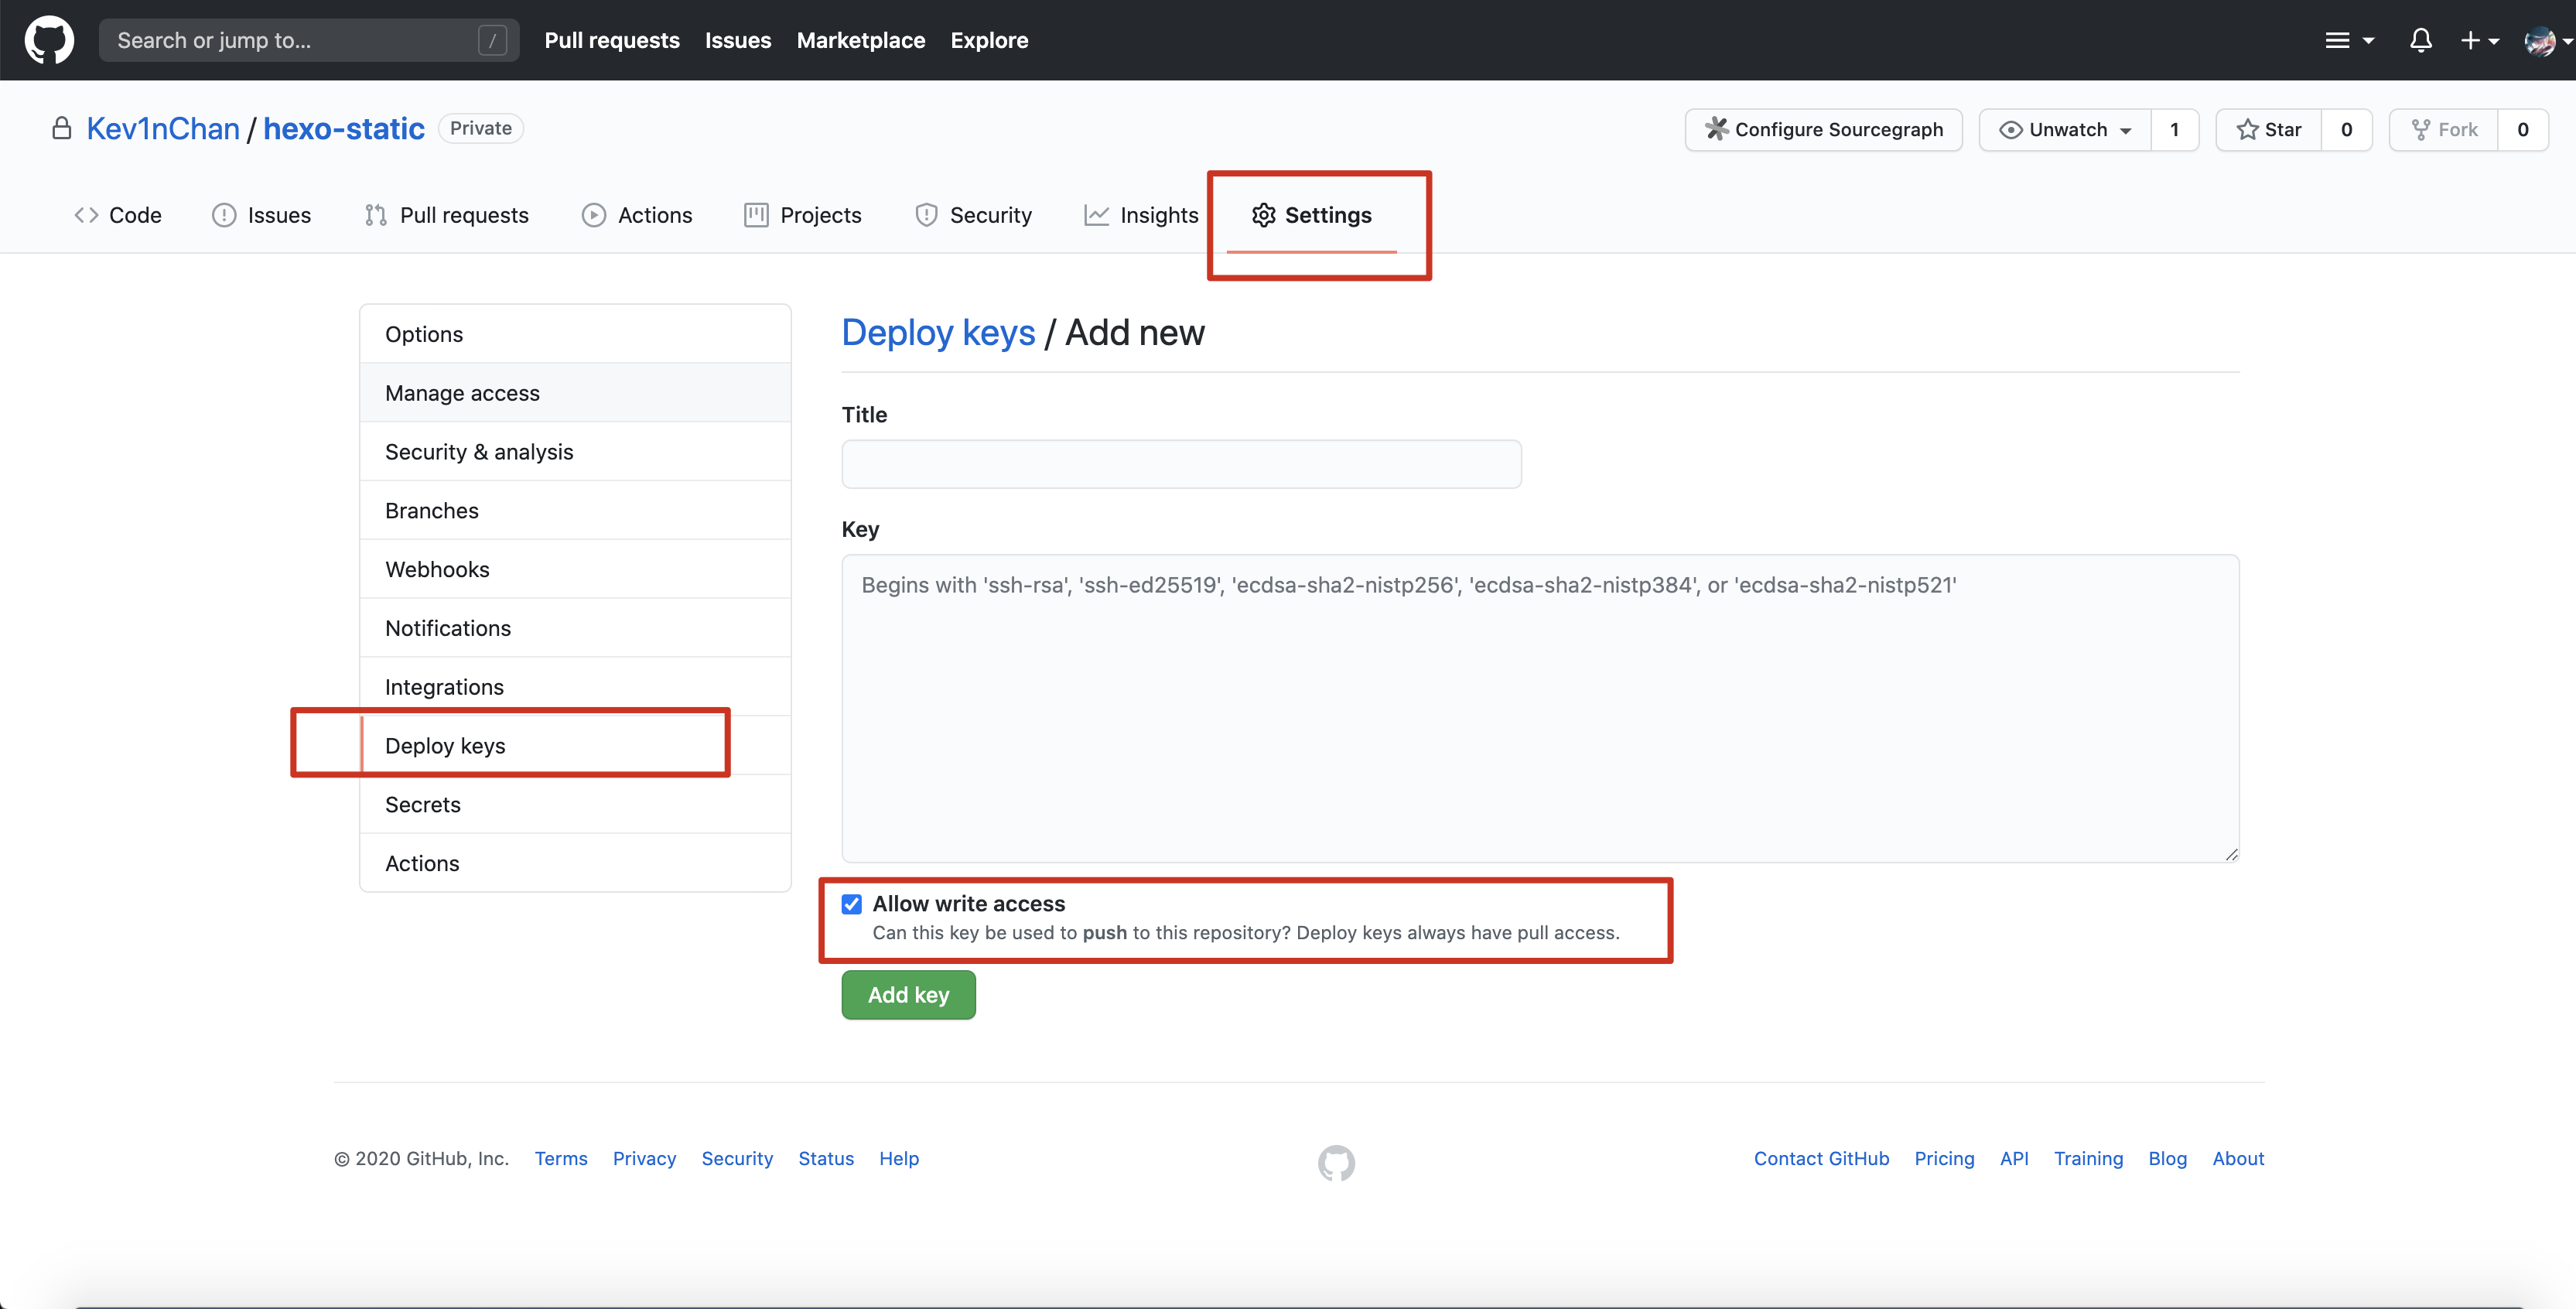
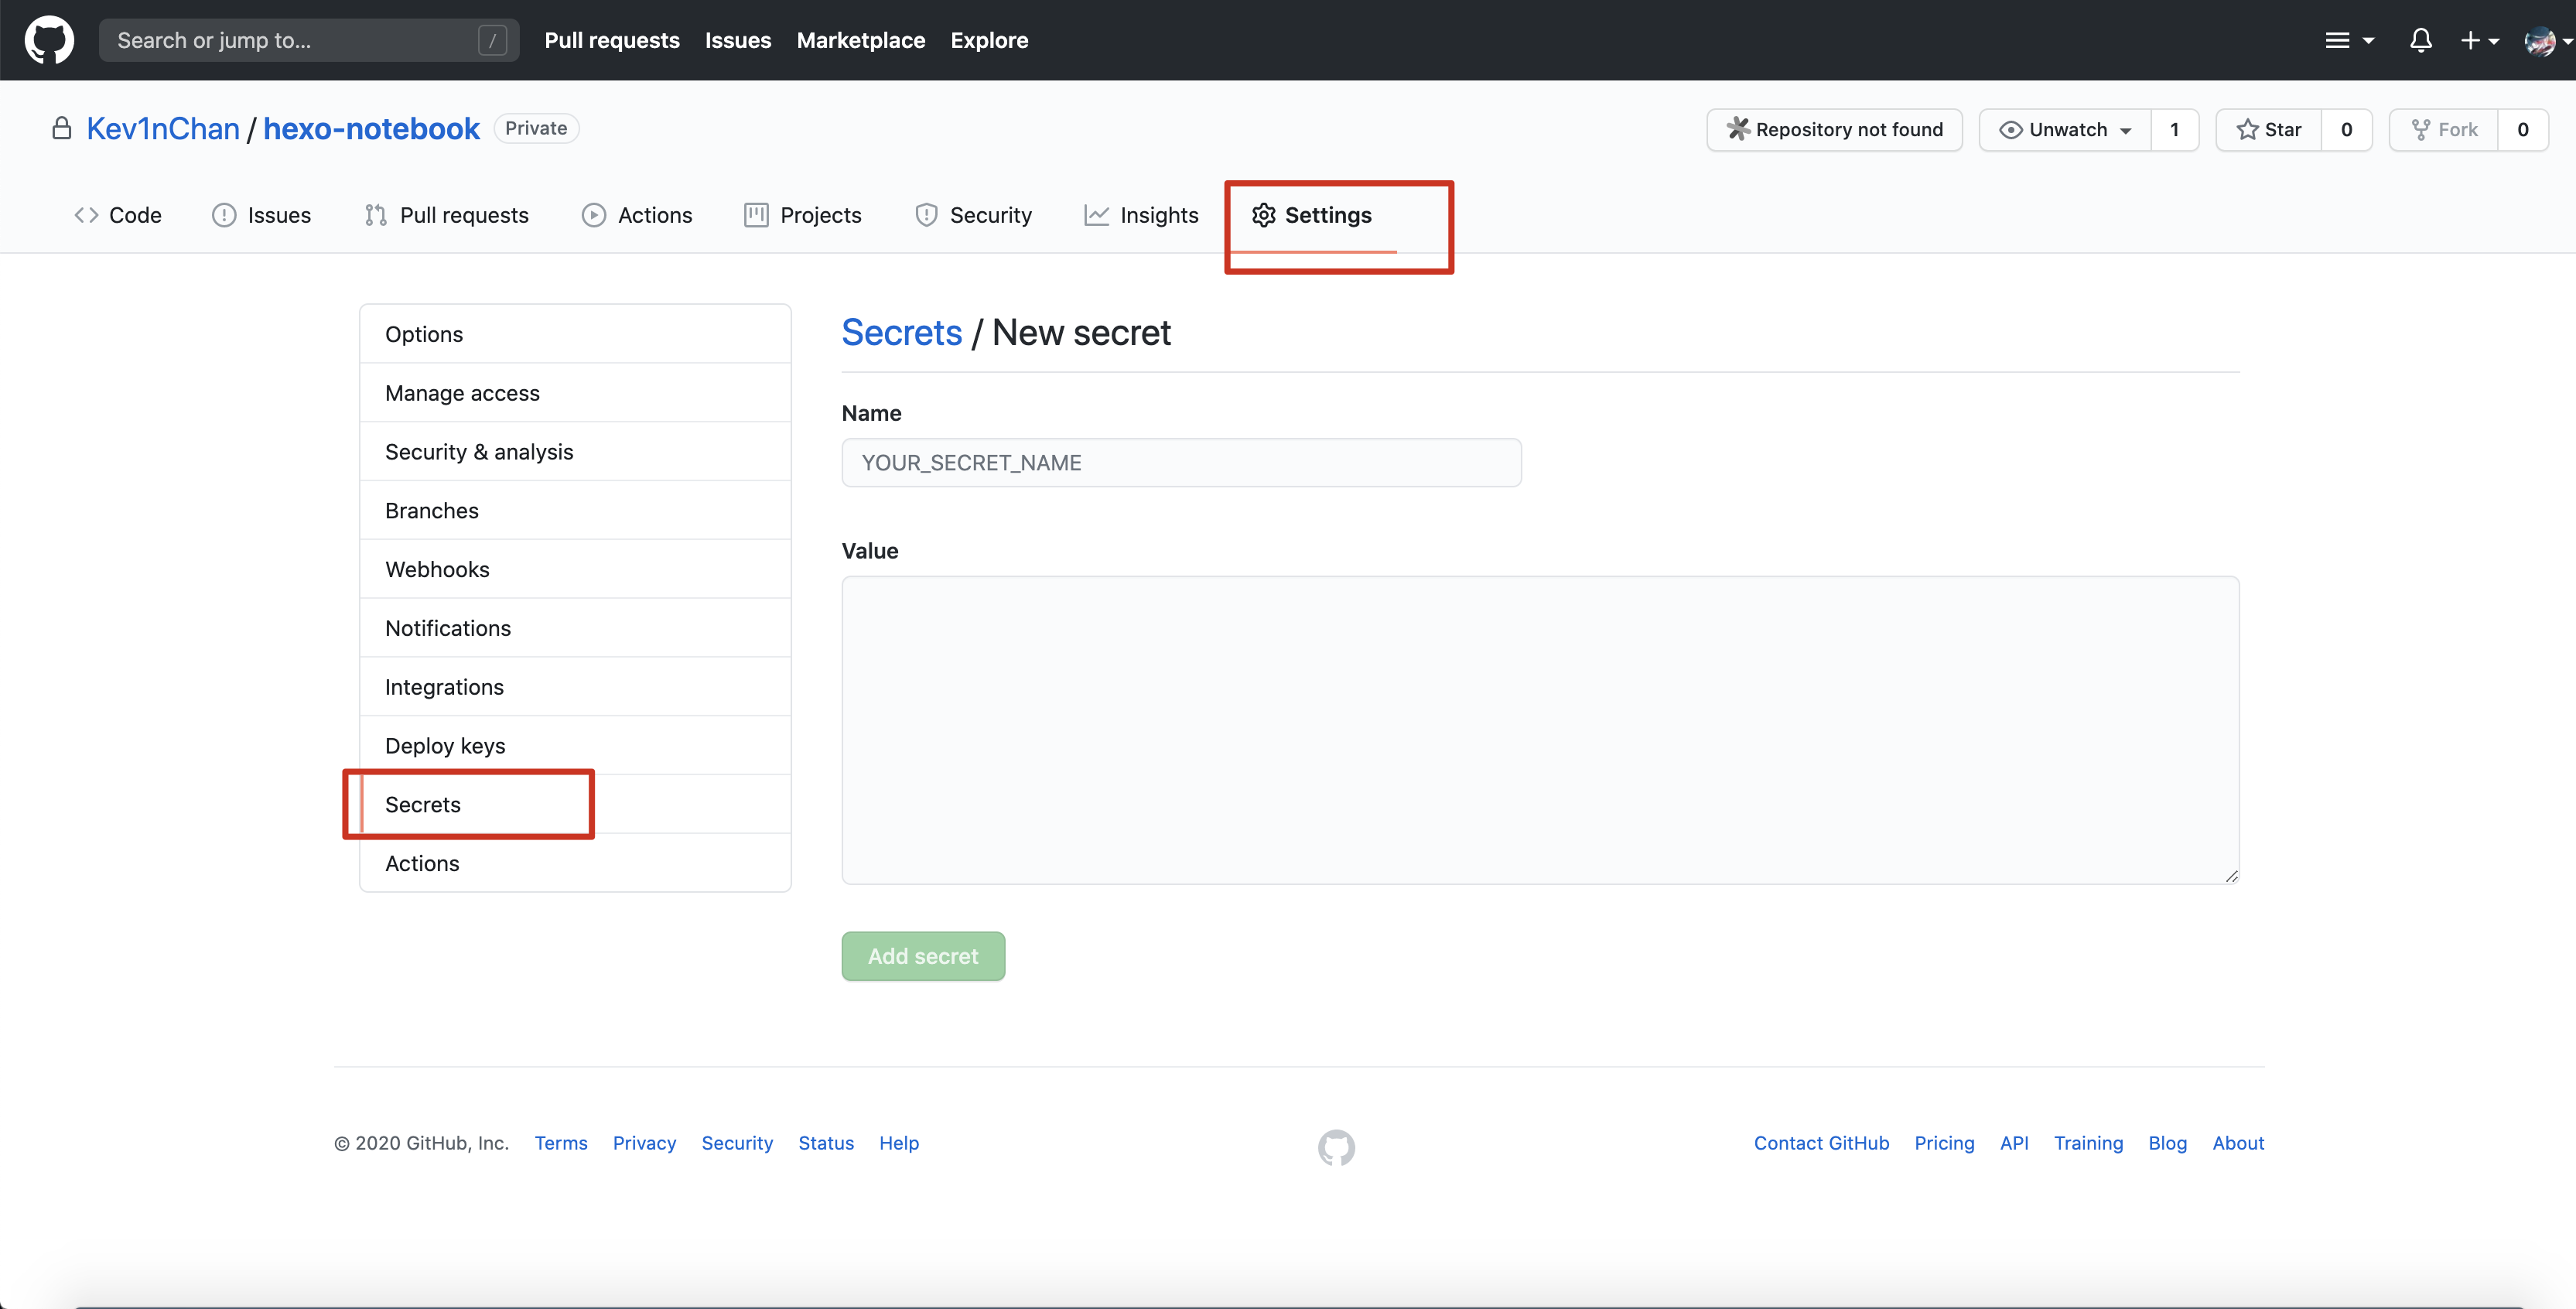
复制
github-deploy-key内容到hexo-notebook仓库的Secrets中
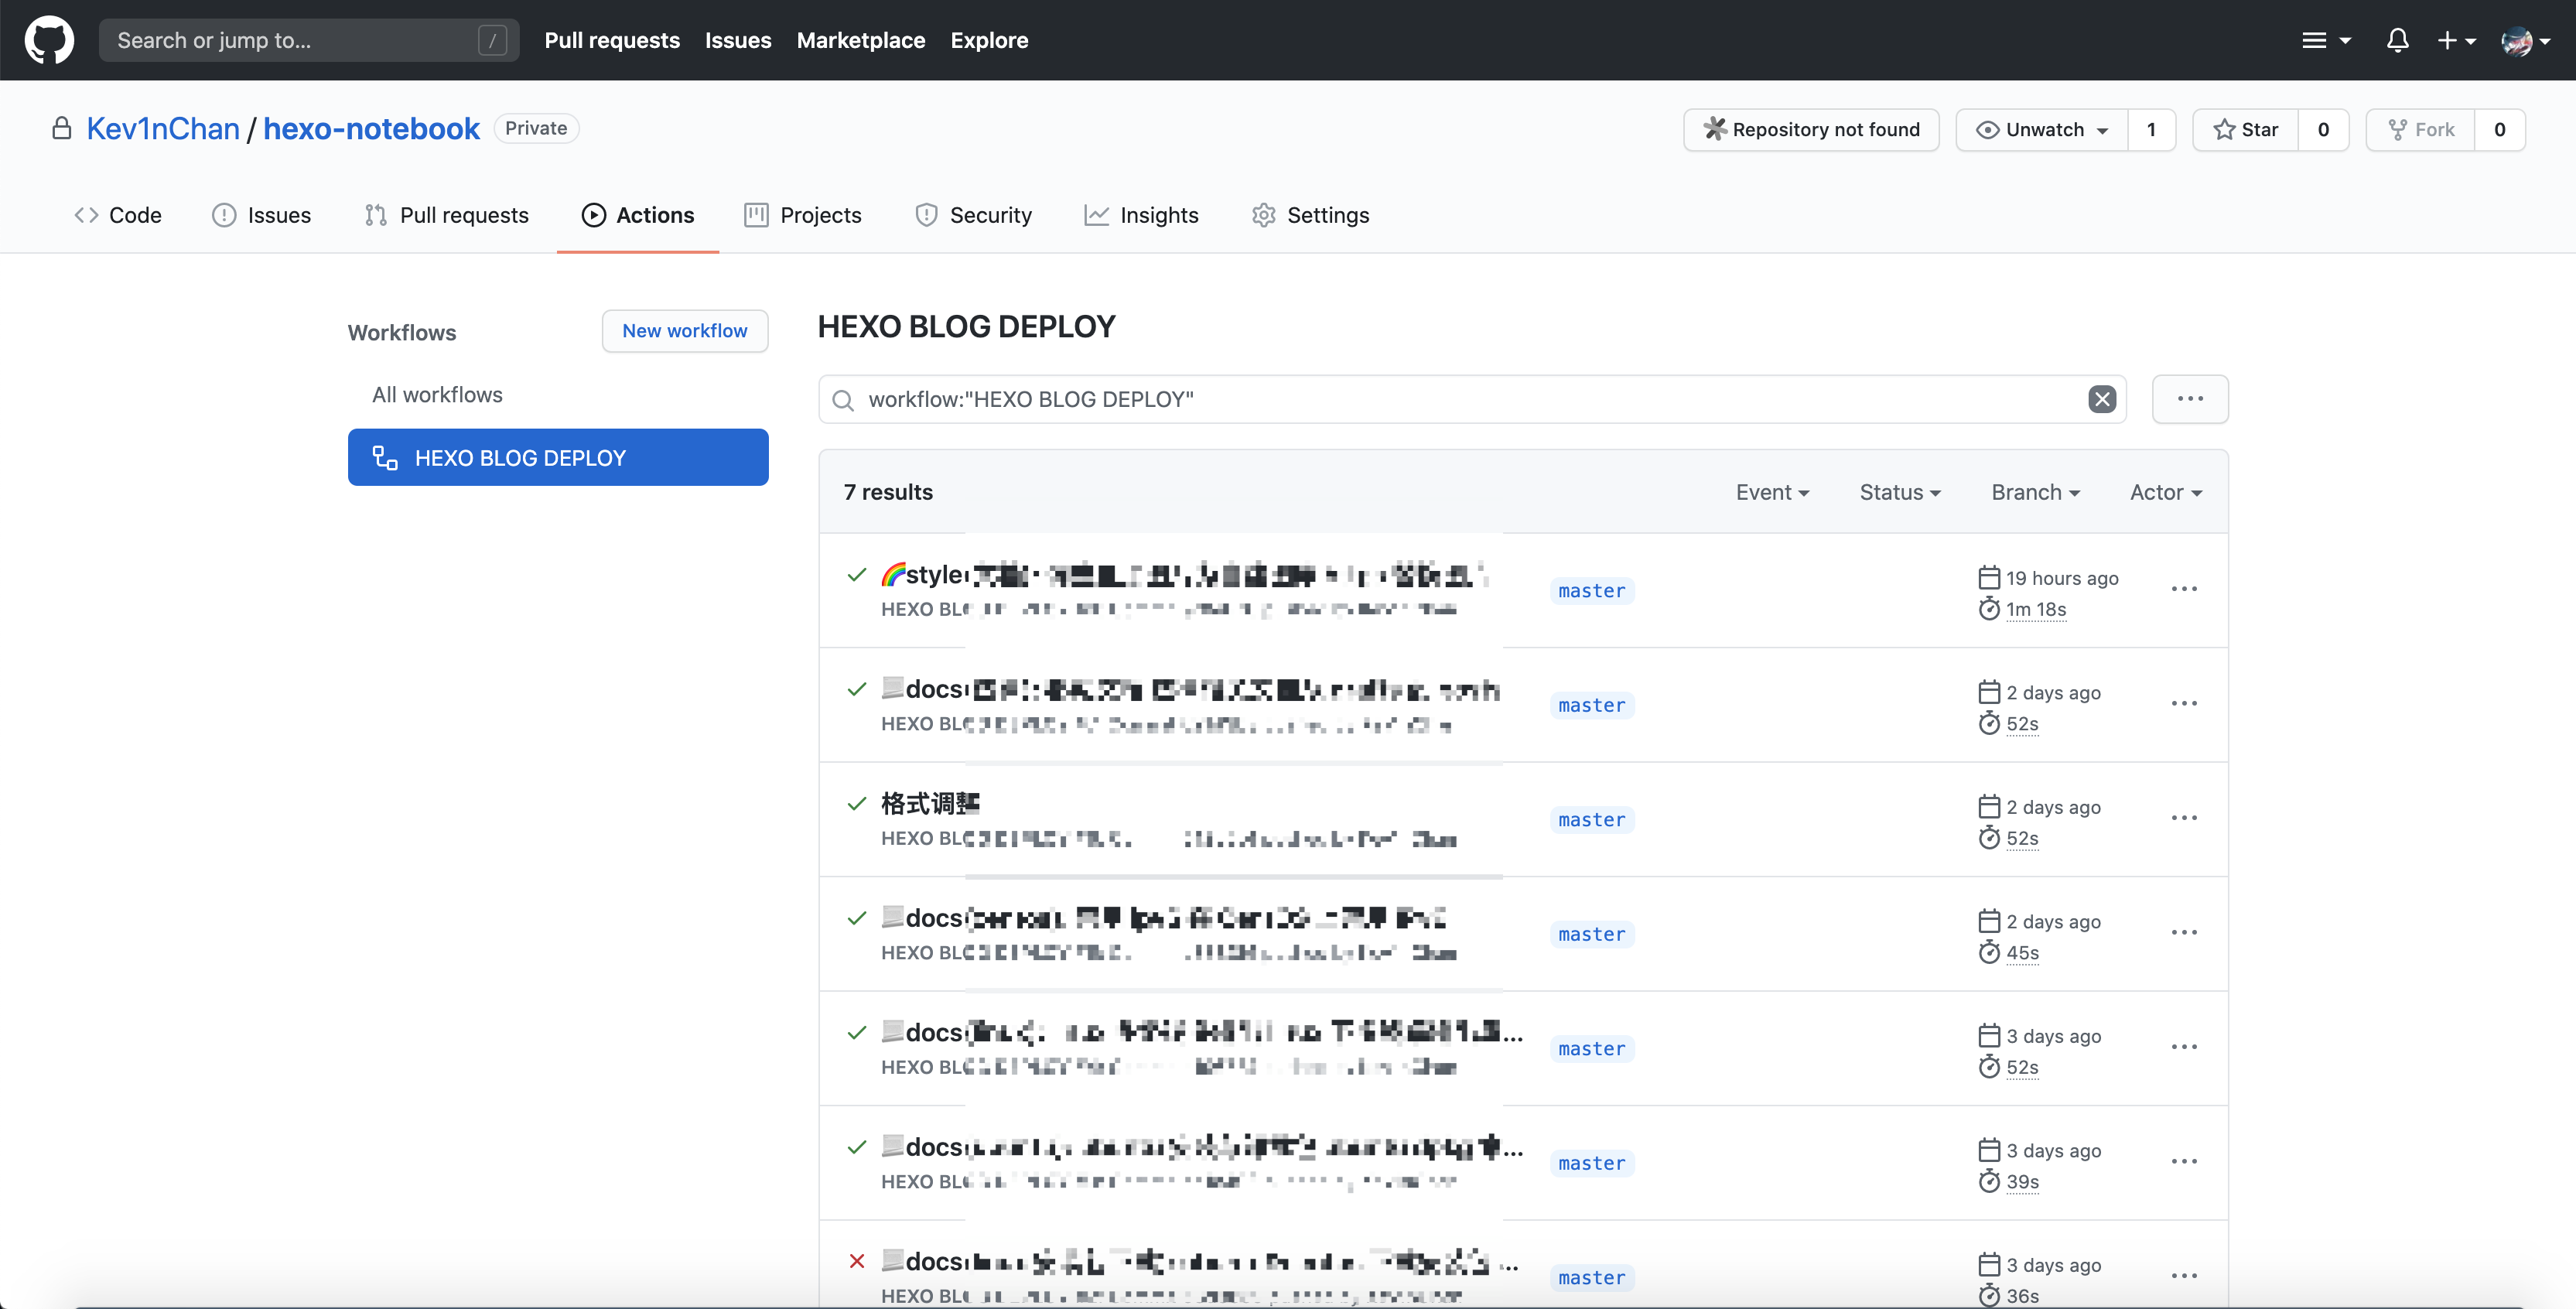
推送代码并测试
提交并推送 hexo-notebook 代码,然后查看 Actions。可以看到如下所示,推送代码后自动构建
部署 Vercel
推荐使用 Vercel,而非 GitHub Pages。GitHub Pages 在国内访问速度慢,且有超时的可能
Vercel 是一个云平台静态站点和无服务器功能完美地与您的工作流程适合。它使开发人员可以托管 Jamstack 网站和 Web 服务,这些网站和 Web 服务可立即部署,自动扩展且无需监督,而无需任何配置。
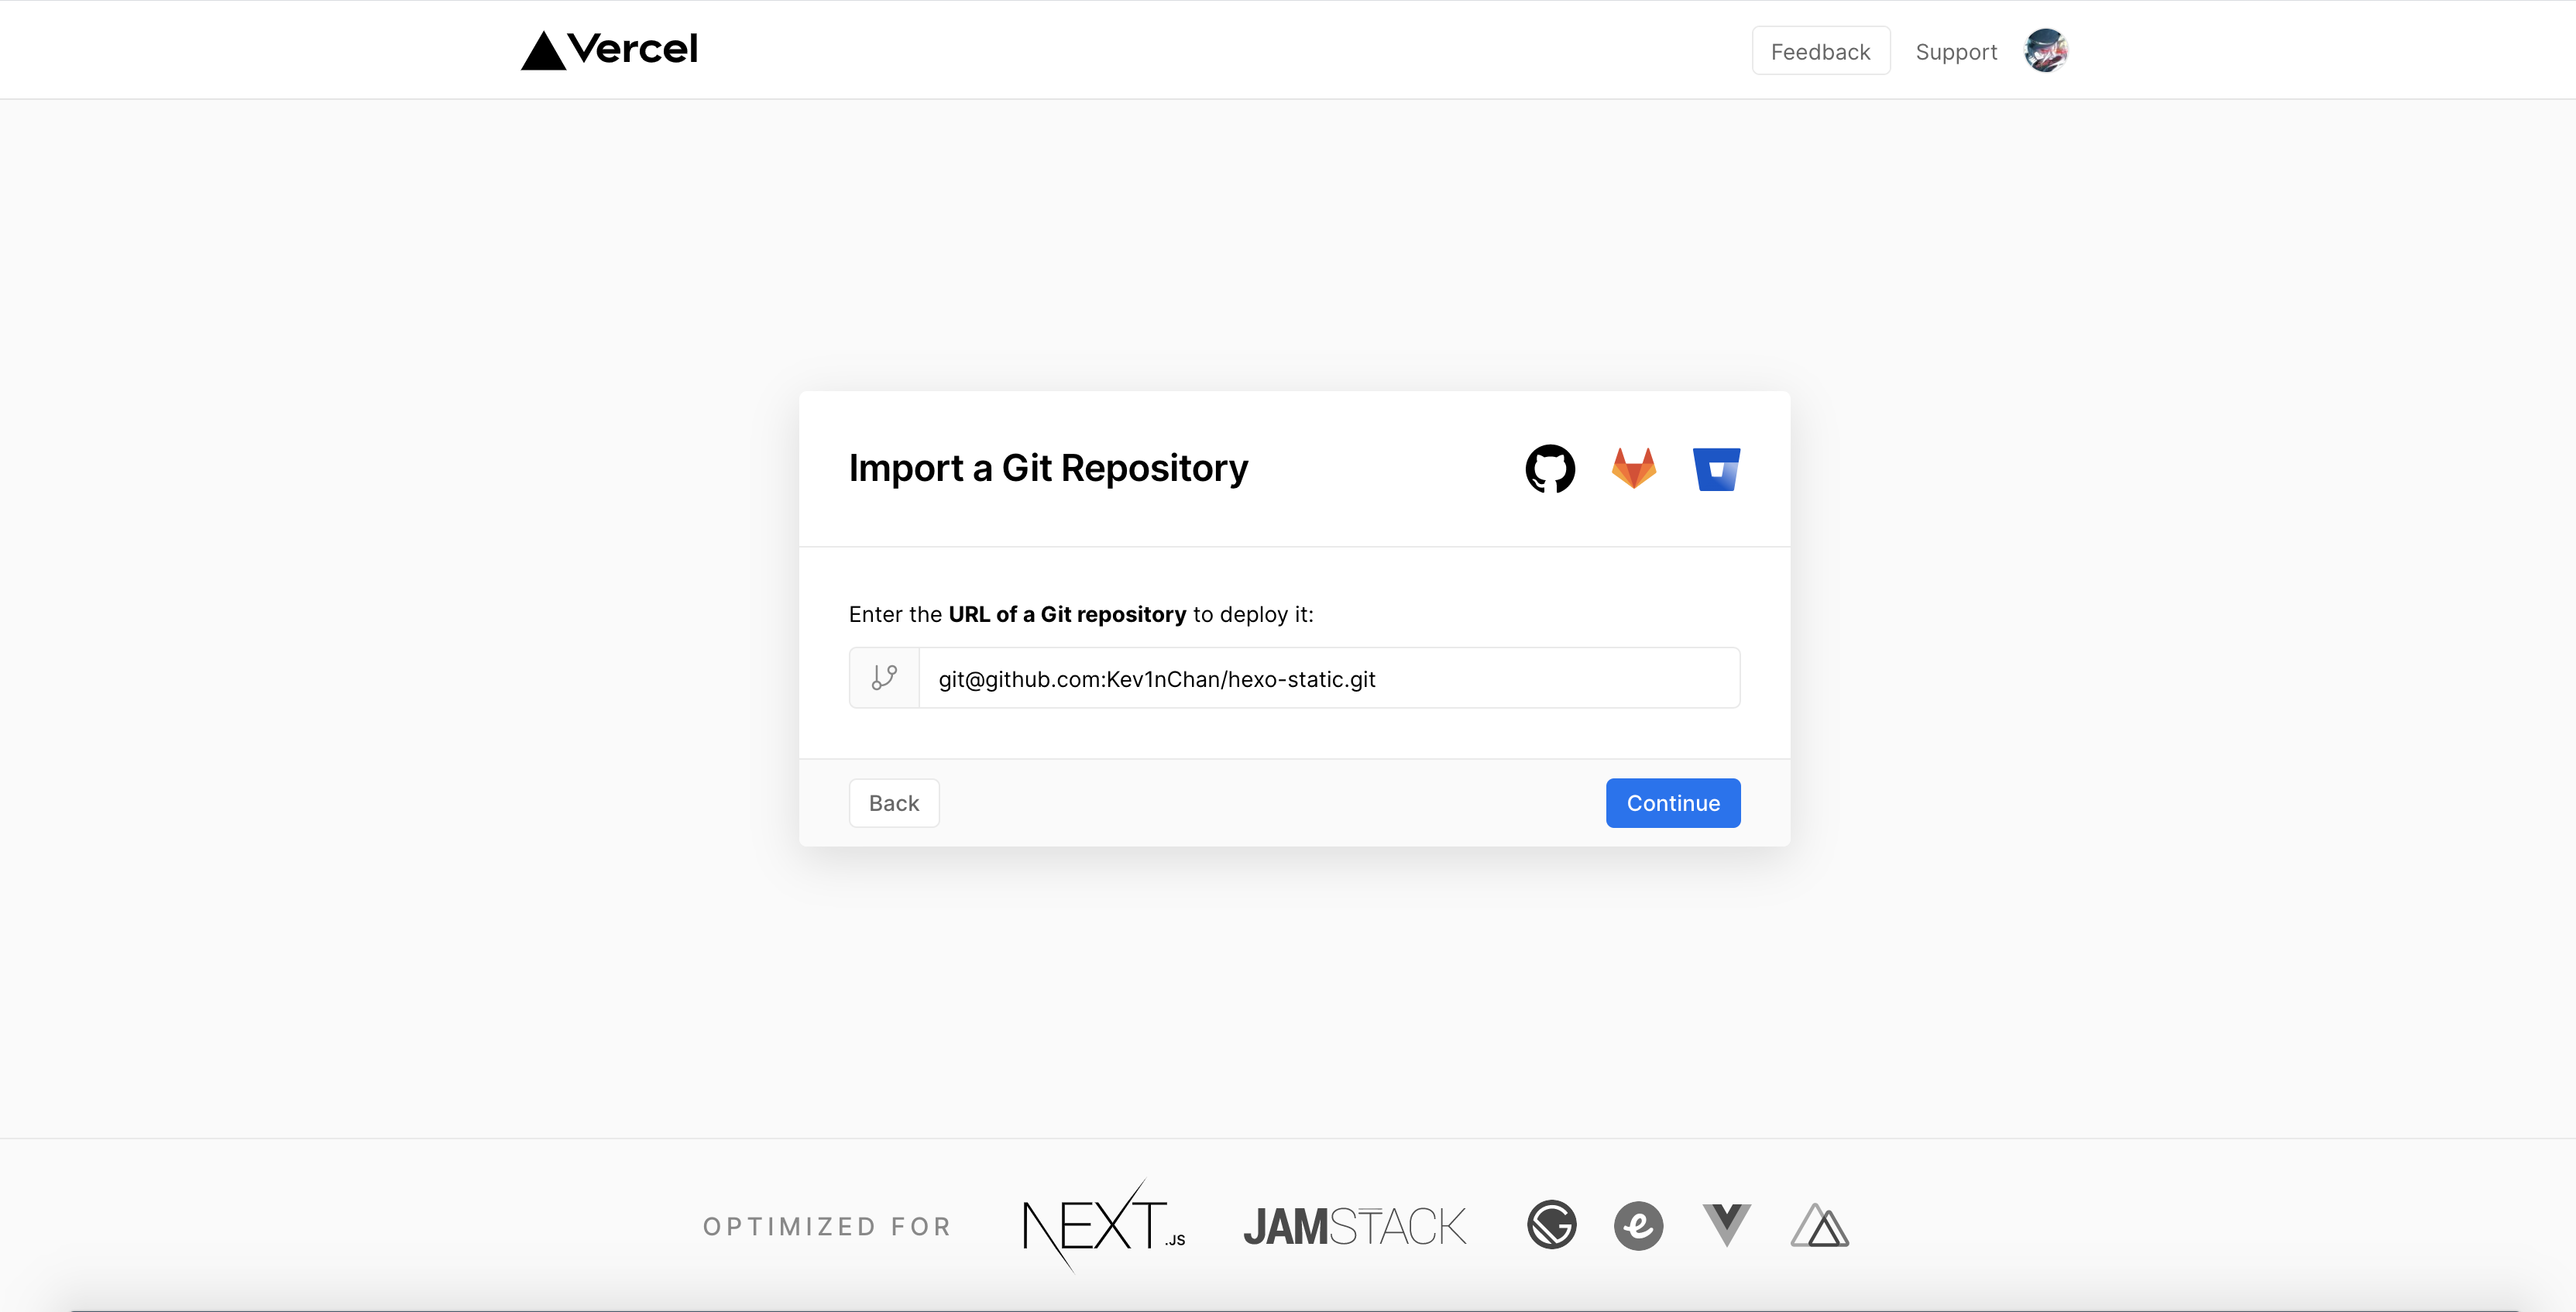
我们使用 GitHub 账号登陆 vercel,并导入 GitHub 仓库 Hexo-static
设置中 Build 保持 Other 即可,因为上面已经使用了 GitHub Actions 来构建静态 Web 资源,我这里已经导入过就直接用设置截图

等待导入 GitHub 仓库,并生成静态网站
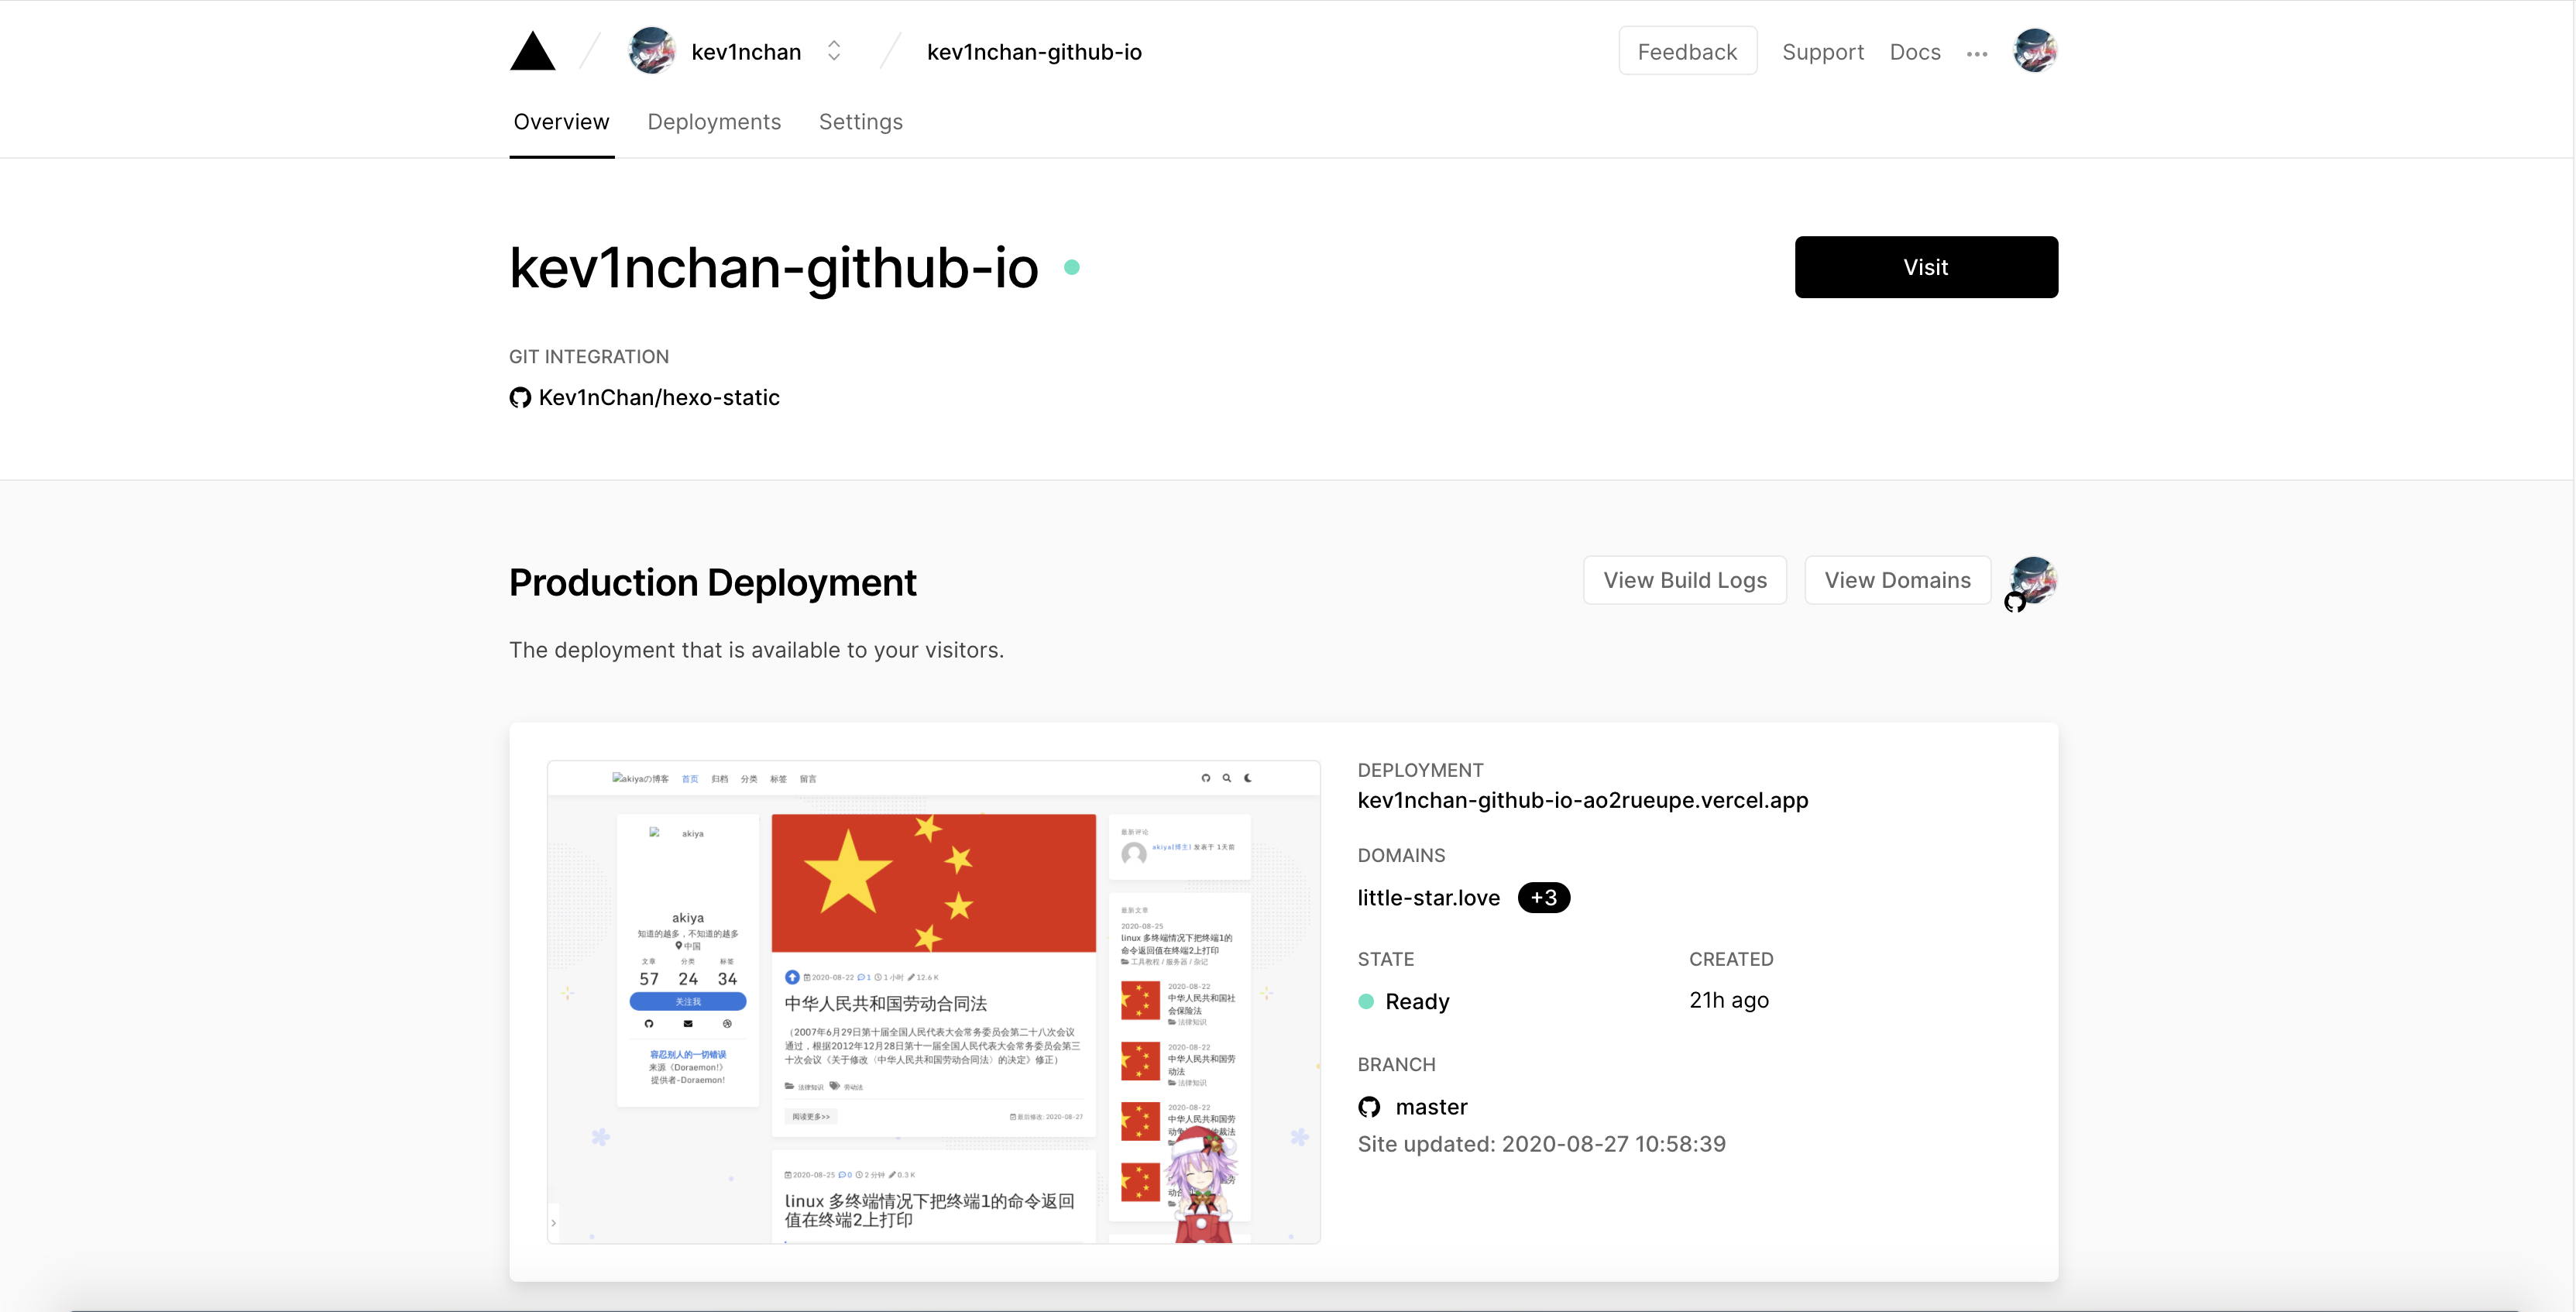
vercel 会为我们的网站提供一个 https 的域名访问
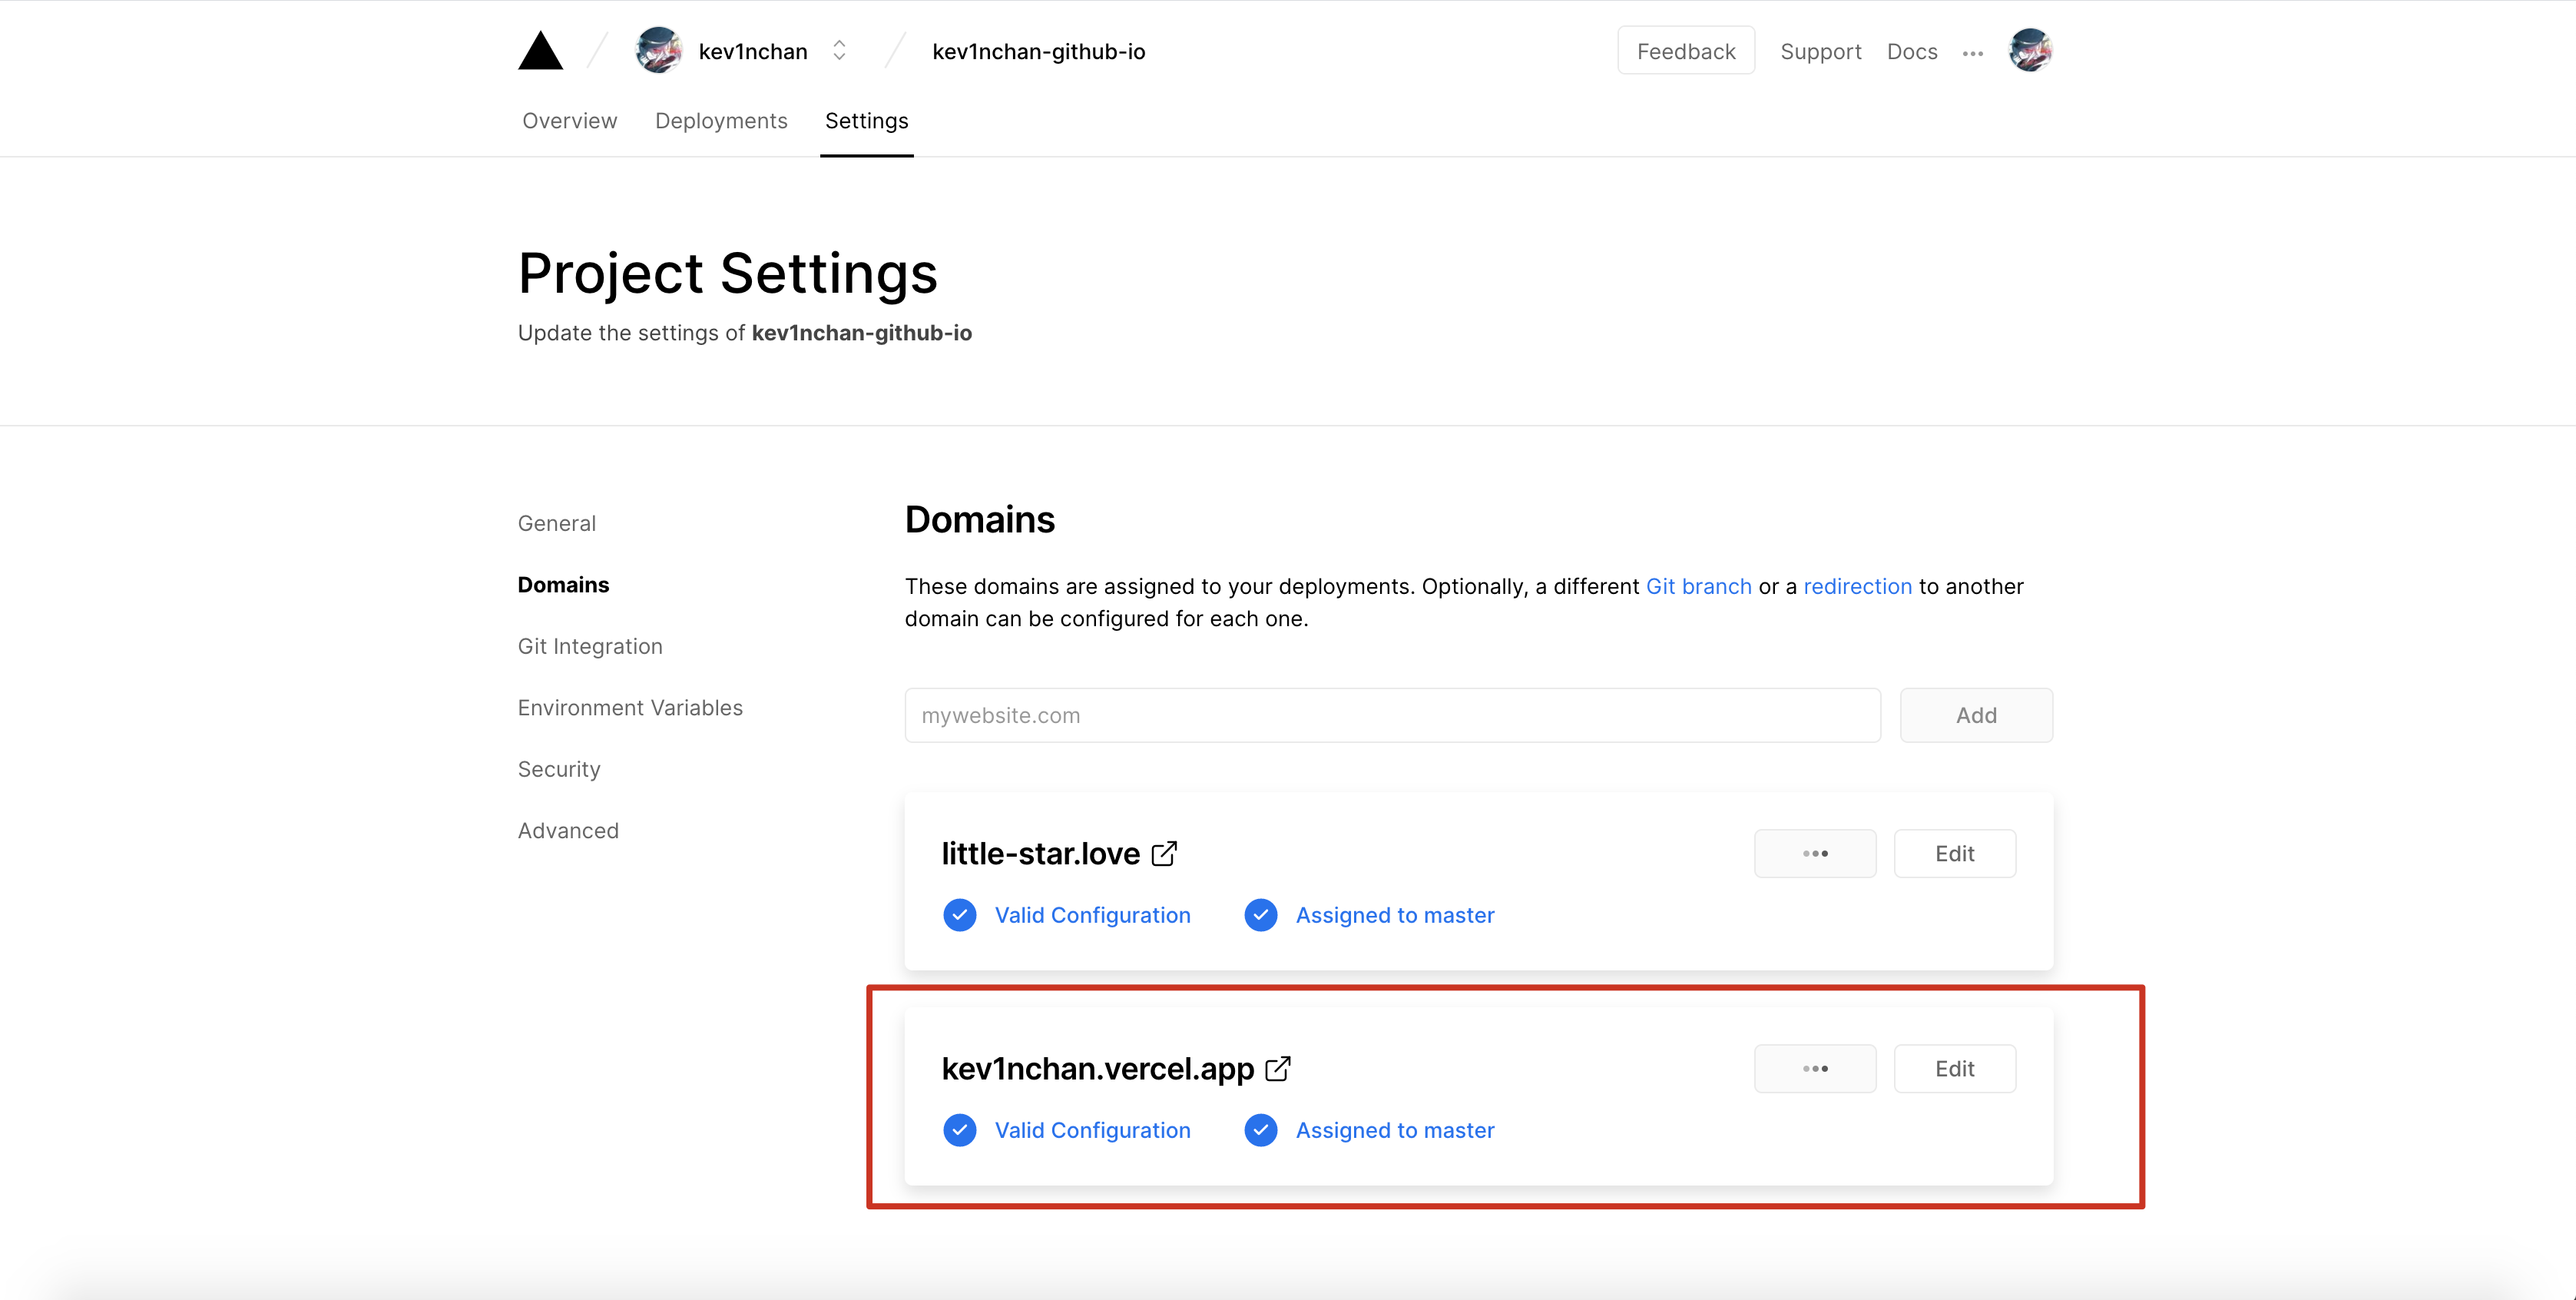
如果需要绑定自定义域名,则在 Domains 中添加自己的域名并在域名服务商处按照 vercel 的提示设置解析即可