
使用pyenv管理多版本python
在开发 Python 程序的时候,有时候可能需要在不同版本的
Python上进行测试。pyenv 就是这么一个管理多版本Python的工具。pyenv是利用系统环境变量PATH的优先级,劫持python的命令到pyenv上,根据用户所在的环境或目录,使用不同版本的python。
Mac下安装
安装
Mac OSX 下可直接使用 brew 安装
1 | brew update |
设置环境变量
如果使用的是 bash,将以下环境变量添加到 ~/.bash_profile,如果使用的是 zsh,则添加到 ~/.zshrc
1 | echo 'export PYENV_ROOT="$HOME/.pyenv"' >> ~/.zshrc |
启动终端时,自动初始化 pyenv
1 | echo 'eval "$(pyenv init -)"' >> ~/.zshrc |
重载配置文件
1 | source ~/.zshrc |
查看pyenv版本
1 | pyenv -v |
CentOS 下安装
安装
由于 pyenv 是通过下载 python 源码包编译安装,为了保证在编译时不出错,建议安装前安装相关依赖环境
当前环境:CentOS Linux release 7.7.1908 (Core) Minimal
1 | yum install -y gcc tk-devel @development zlib-devel bzip2 bzip2-devel \ |
Github地址:
一般在使用 python 的时候会涉及到多个版本、不同版本的 python 创建的虚拟环境,手动安装 pyenv 后同样需要手动安装 pyenv-virtualenv 才能管理多个不同的虚拟环境。为了安装方便,我们选用官方提供的一键式安装脚本来直接安装 pyenv 与 pyenv-virtualenv。
1 | curl https://pyenv.run | bash |
设置环境变量
然后添加环境变量到你当前使用的 shell
- bash:
vim ~/.bashrc - zsh:
vim ~/.zshrc
1 | export PATH="$HOME/.pyenv/bin:$PATH" |
重载配置文件
1 | source ~/.bashrc |
查看pyenv版本
1 | pyenv -v |
使用
pyenv 常用命令
注:使用 local、global、shell,设置 Python 版本时需要跟上参数(版本号),查看则不需要。
1 | 使用方式: pyenv <命令> [<参数>] |
pyenv
查看系统当前安装的 Python 列表
shell 1
pyenv versions
列出可安装版本
shell 1
pyenv install --list
安装指定版本 Python,如果需要用到 pyinstaller,安装 Python 时请参考 pyinstaller
shell 1
pyenv install <版本号>
卸载指定版本 Python
shell 1
pyenv uninstall <版本号>
显示当前 Python 安装路径
shell 1
pyenv which python
设置全局的 Python 版本,通过将版本号写入
~/.pyenv/version文件的方式shell 1
pyenv global <版本号>
设置面向程序的本地版本,通过将版本号写入当前目录下的
.python-version文件的方式。通过这种方式设置的Python版本优先级较global高。shell 1
pyenv local <版本号>
设置面向
shell的Python版本,通过设置当前shell的PYENV_VERSION环境变量的方式。这个版本的优先级比local和global都要高。shell 1
pyenv shell <版本号>
--unset参数可以用于取消当前shell设定的版本。shell 1
pyenv shell --unset
pyenv-virtualenv
查看所有虚拟环境
shell 1
pyenv virtualenvs
创建指定python版本的虚拟环境
shell 1
pyenv virtualenv <python版本> <虚拟环境名>
使用虚拟环境生效
shell 1
pyenv activate <虚拟环境名>
退出虚拟环境
shell 1
pyenv deactivate
删除虚拟环境,简单粗暴地将整个目录干掉即可
shell 1
pyenv uninstall <虚拟环境名>
修改pip源
在使用 Python 时如果网络状态不佳直接从官方 PyPI 仓库拉取代码速度较慢,推荐使用阿里云 PyPI 镜像仓库
1 | mkdir ~/.pip && vim ~/.pip/pip.conf |
添加如下内容
1 | [global] |
安装包获取加速
Pyenv 中默认获取 Python 安装包是去 https://www.python.org/ftp/python 中拉取,由于国内特殊的网络环境,可能会拉取失败。我们可以使用以下两种方式加速安装 Python 速度。
替换 Pyenv 中源
使用如下命令替换 Pyenv 脚本中所有 https://www.python.org/ftp/python 为华为云镜像仓库
1 | sed -i "s?https://www.python.org/ftp/python?https://mirrors.huaweicloud.com/python?g" \ |
然后我们可以再次使用 pyenv install 命令时就会直接去对应的镜像库而不是国外拉取了
1 | pyenv install 3.8.6 |
手动下载安装包
使用 wget 等工具提前下载好 Python 源码包到 Pyenv 的 cache 目录下,然后安装离线包
1 | wget https://mirrors.huaweicloud.com/python/3.8.7/Python-3.8.7.tar.xz -P ~/.pyenv/cache |
使用离线包安装 Python
1 | pyenv install 3.8.7 |
常见问题
在尝试安装新的 Python 版本之前,请先安装 Python 构建依赖项,wiki
如果您在安装 Python 版本时遇到问题,请访问有关常见构建问题的Wiki页面
安装 Pyenv 超时
使用自动化脚本安装 Pyenv 时如出现如下情况
1 | curl https://pyenv.run | bash |
可能是由于 DNS 污染造成的,比如说我这儿就是,被上游 DNS 解析到了 127.0.0.1 ╮(╯▽╰)╭
1 | ping raw.githubusercontent.com |
我们可以通过 https://www.ipaddress.com/ 这个网络去查询域名正确的 IP,然后在 hosts 文件中手动映射
1 | raw.githubusercontent.com |
配置好后再次执行 curl https://pyenv.run | bash 就可以正常安装 Pyenv 了
pyinstaller
直接使用 pyenv install 3.7.5 安装后使用 pyinstaller 打包会报如下错误
1 | OSError: Python library not found: libpython3.7m.so.1.0, libpython3.7.so.1.0, libpython3.7mu.so.1.0 |
需要使用如下方法重新安装 python:
Mac OSX
shell 1
env PYTHON_CONFIGURE_OPTS="--enable-framework" pyenv install 3.7.5
- CentOS
shell 1
env PYTHON_CONFIGURE_OPTS="--enable-shared" pyenv install 3.7.5
pip install报错
使用 pip install 时报错如下:ModuleNotFoundError: No module named '_ctypes'
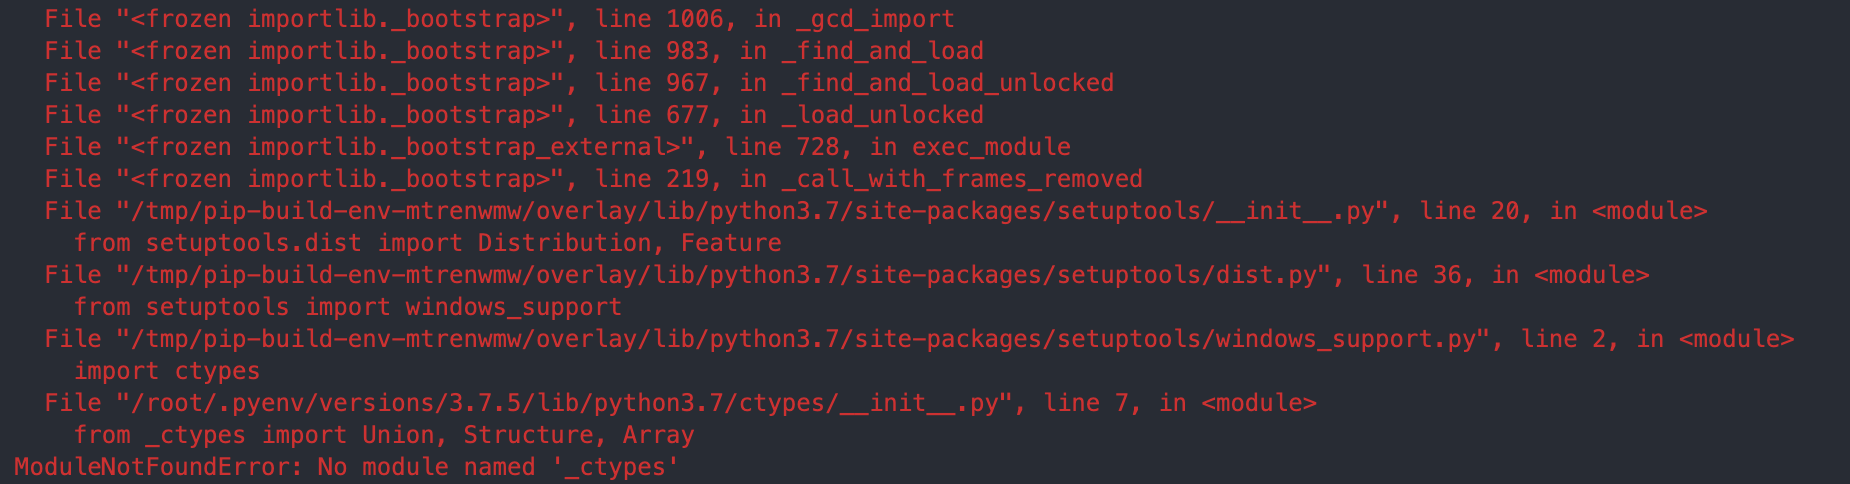
需要安装相关依赖包 libffi-devel,后再次重新编译安装 Python
1 | yum -y install libffi-devel |
- 本文标题:使用pyenv管理多版本python
- 本文作者:akiya
- 本文链接:https://little-star.love/posts/a3f5d573/
- 版权声明:本博客所有文章除特别声明外,均采用 CC BY-NC-SA 4.0 许可协议。转载请注明出处!